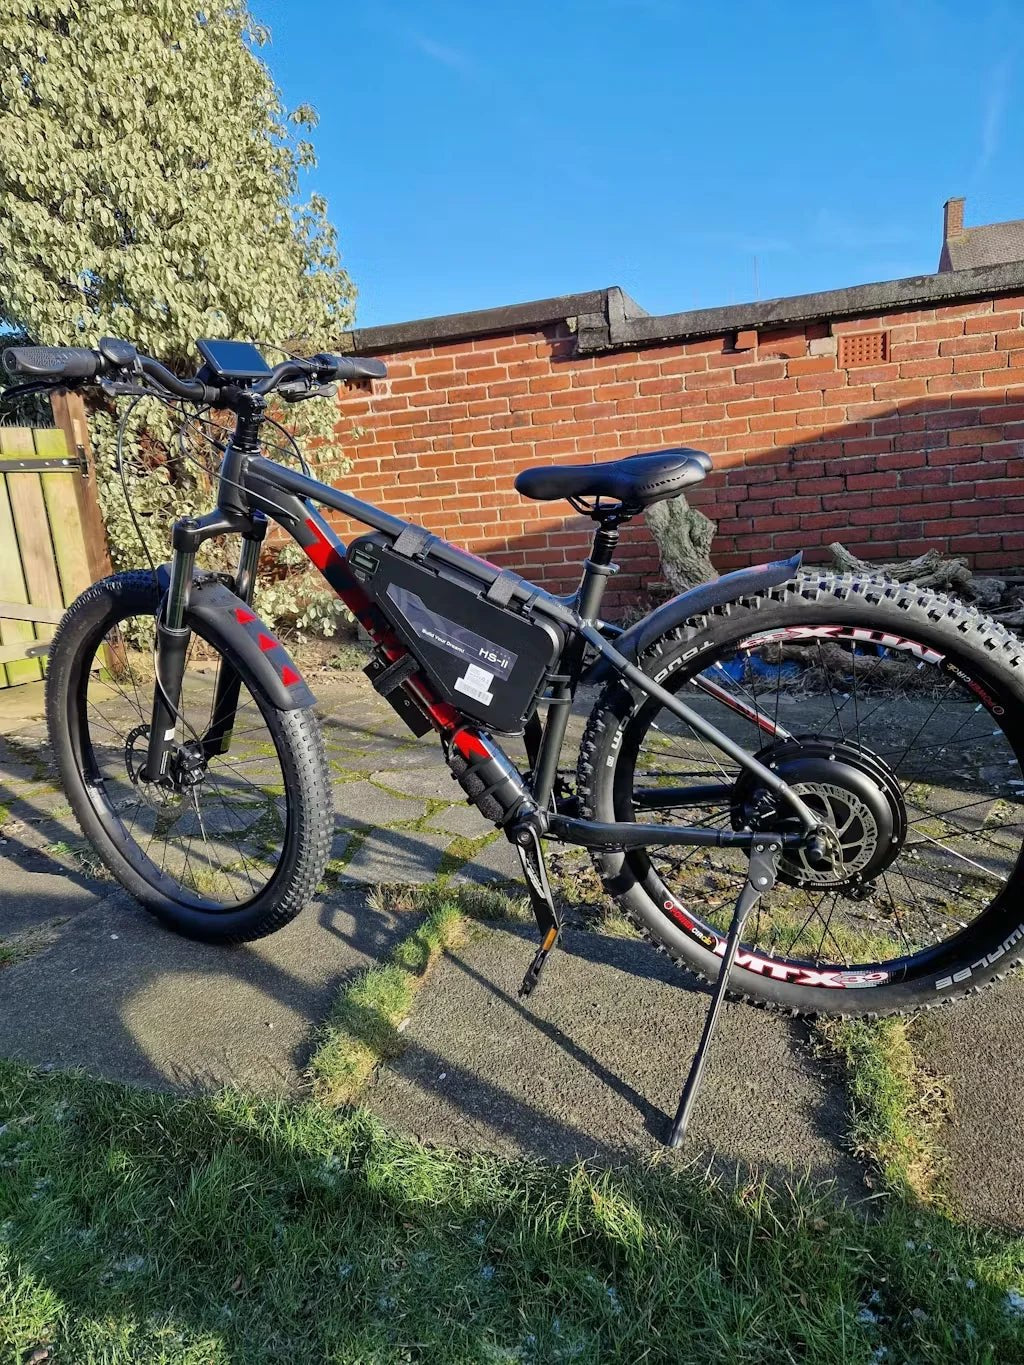
Will an Ebike Battery Fit My Frame? How to Measure the Case, Rail and Removal Clearance
Three checks decide it, and most buyers only make the first. The case has to fit the frame, the rail has to sit where your bosses are, and the pack has to slide off again once it is mounted.
AK
Andy Kirby
Reviewed by the KirbEbike conversion-support team
Share
Unlock £10 off today
On this page
MEASURE, DO NOT ESTIMATEREMOVAL IS THE THIRD TESTUK MARKET
The Quick Answer
A battery fits when three things are true: the case envelope clears the frame tubes, the mounting rail lines up with your bottle bosses without pushing the pack into something, and the removal path is clear for the full slide-off distance. Miss the third and you own a battery you cannot take indoors to charge.
Measure rather than estimate. The manufacturer’s case dimensions are the starting point, not the installed footprint — the rail, connector and lock all add to it. Make a full-size template, check it in the actual mounting position, and leave an installation margin instead of a zero-clearance fit. Our compatibility checklist covers the wider frame checks.
The Three Checks That Decide Whether a Battery Fits
Check
What you compare
Why it fails
How to test it
Case envelope
Pack outline against the frame pocket
Tubes, shock or crank in the way
Full-size template in position
Rail and bosses
Boss spacing against rail slots
Rail shifts the pack into a tube
Measure boss centres, compare
Removal path
Slide distance against clearance
Top tube blocks the slide
Trace the whole path, not the seat
Nearly every fit failure is one of these three — usually the third.
Static fit is not removal fit. A pack that sits in the frame but cannot slide off is a pack you cannot charge indoors or take off for security.
Why Case Dimensions Alone Are Not Enough
The three numbers on a spec sheet describe the case, not the installed assembly. The mounting rail adds its own footprint, usually raising the pack away from the tube and extending beyond the case at one or both ends. The connector projects and needs a bend radius for the cable rather than being crushed against a tube. The lock and key need hand clearance, not just physical space. And bottle-cage bosses rarely sit exactly where you would choose, so the rail position is dictated by the frame rather than by the ideal placement.
So a pack quoted at, say, 386 × 97 × 157mm occupies noticeably more space once mounted. Work from the installed footprint — case plus rail plus connector plus lock access — and you avoid the most common disappointment in battery buying.
What to Measure on the Battery
Case plus rail. The entry pack is 368 × 125 × 95mm — and the rail beneath it is a separate part that adds to the installed size.
Measurement
Why it matters
Overall length
The main constraint along the down tube
Maximum width
Clearance to cranks, heels and chainstays
Maximum height or depth
Clearance to the top tube or shock
Rail length
Often longer than the case itself
Mounting-hole spacing
Must align with your bottle bosses
Connector projection
Adds length and needs cable bend radius
Required slide-off distance
The measurement most sheets omit
Ask for any figure not published. A supplier who cannot provide them is telling you something.
How to Measure Your Frame
Work through the frame in the same order every time. Measure the usable down-tube length between head tube and bottom bracket, stopping where cables or the derailleur intrude. Measure the seat-tube side and the space under the top tube, then find the narrowest width between the tubes, because a triangle tapers and the tightest point governs.
Then mark the bottle-boss positions and measure their centre-to-centre spacing, and note cables, hose guides and derailleur hardware occupying space you might otherwise count as usable. On a full-suspension frame, check clearance through the whole suspension movement rather than at rest.
Test One: Case Envelope Against the Frame Pocket
Make a full-size template. Cut a piece of cardboard to the pack’s exact outline including the rail, mark the connector and lock positions on it, and offer it up in the intended mounting position with the bars turned fully and any suspension compressed. If you are working from a printed drawing rather than measuring a physical pack, verify the print scale first — draw or print a 100mm calibration bar and check it with a ruler, because printers default to "fit to page" and quietly shrink everything by a few per cent.
Check clearance to every tube, the shock, cables and cranks, then leave an installation margin. A template that fits with nothing to spare will not fit in practice: paint thickness, cable runs, tolerance and hand access all consume the difference. If it only just fits, treat that as a fail.
Test Two: Rail and Bottle-Boss Alignment
Measure your bottle-boss centre-to-centre spacing and compare it against the rail's slot range. Rails offer some adjustment, not unlimited, and a mismatch does not simply stop it bolting on — it forces the pack somewhere it should not be.
Mounting plate. Its slots set where the pack sits on your bottle bosses — measure both before you buy.
Two failure modes to check specifically. If the bosses sit high on the down tube, the rail can push the battery up into the top tube, which shows up as a pack that will not seat or a removal path that closes. If they sit low, the rail can move the pack toward the crank and chainring area, where heel strike and crank clearance become problems. An adapter plate or rated clamp can spread load where bosses are absent or light-duty. What it cannot do is relocate the frame’s mounting points safely.
💡
DO NOT DRILL OR MODIFY THE FRAME TO MAKE A BATTERY FIT
Never drill a carbon frame under any circumstances. Do not drill or modify any frame — aluminium or steel included — without the frame manufacturer’s approval and a competent bicycle professional. Frame tubes are stressed structures, and a hole in the wrong place turns a fit problem into a safety problem. If the mounting points are not there, choose a different pack, a different mounting format, or a rated clamp designed for the purpose.
Test Three: The Removal Path Most Buyers Miss
The same pack in two frames. On the left the slide-off path is clear along its whole length; on the right the case fits but the top tube blocks it before the pack releases from the rail.
Find the release direction first — most rail-mounted packs slide along the rail axis rather than lifting out — then measure the minimum distance the pack travels before clearing the rail. That distance must be free of obstruction, and it is usually longer than people assume.
Trace the whole path rather than the mounted position. Watch the top tube along the entire slide, the seat tube and shock on a suspension frame, and whether the key has hand room throughout. Then confirm you can remove the pack without loosening the rail — if removal needs tools, it is not a removable battery in any useful sense.
Static Fit vs Removal Fit: Pass or Fail
Scenario
Static fit
Removal fit
Verdict
Large diamond frame, low bosses
Pass
Pass
Buy it
Small hardtail, high top tube
Pass
Fail
Wrong pack for the frame
A pack that passes only the first column is not a pack that fits.
Frame Type and Frame Size
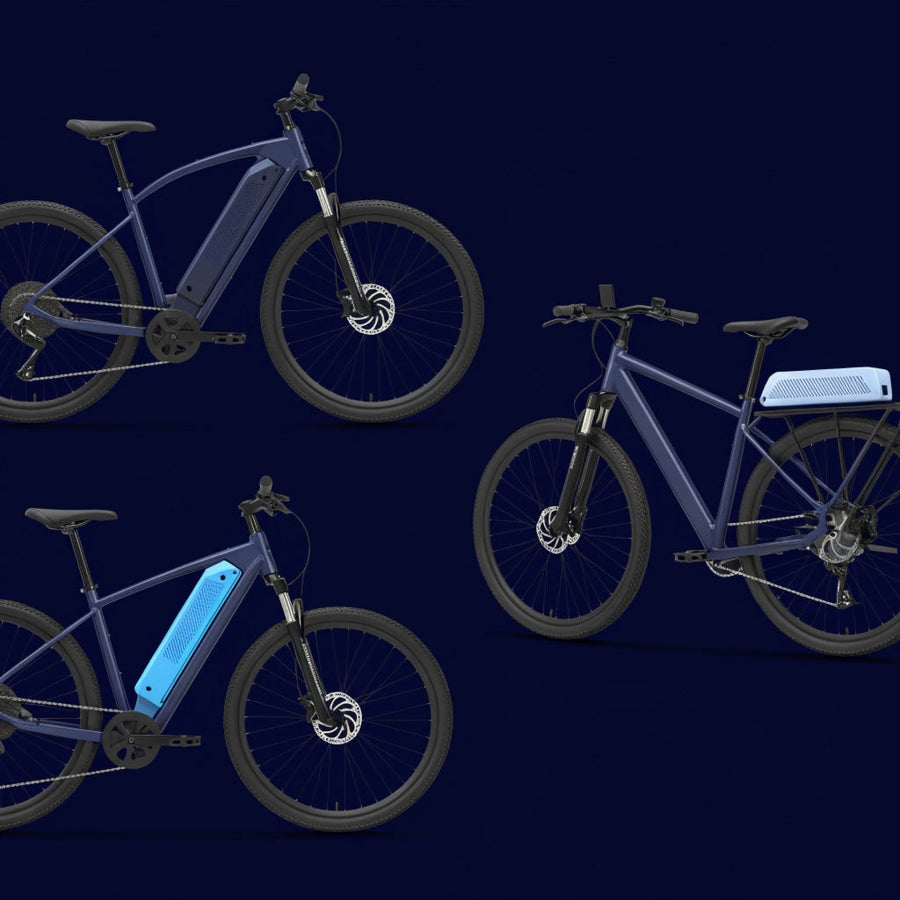
Hardtail MTB frames often have a usable down tube but a top tube that closes the removal path on smaller sizes. Full-suspension frames need clearance checked through the whole travel and often rule out larger packs. Hybrid and trekking frames are the most accommodating. Road and gravel frames suit slimmer cases. Step-through frames often have no safe central pocket, making a rack pack the answer. Folding bikes are dictated by the fold.
And frame size is not battery space. A sloping top tube can leave a large-labelled frame with a smaller usable triangle than a smaller frame with a level top tube. Suspension layout and boss position matter more than the size sticker. Measure the actual pocket.
Capacity Is Not Case Size
Amp-hours and watt-hours describe energy, not dimensions. A 20Ah, 25Ah and 30Ah pack may use entirely different case families, or share one, depending on cell layout — so never infer a case size from a capacity figure. More capacity usually does mean more weight, which affects the mounting method as much as the fit. And a 30Ah pack is not the better buy if your frame cannot carry it securely or you cannot get it off again. Our battery range lists the options, and the BMS amps guide covers the electrical side once fit is settled.
Worked Examples: Two Case Shapes
The method below applies to any manufacturer’s pack. These two are simply convenient illustrations of the two shapes you will meet.
A rectangular down-tube case. Our Taishan packs share one footprint of 386.2 × 97 × 157.4mm across the current voltage and capacity variants, which makes template work straightforward: cut once, and it applies to every variant in the family. A single consistent envelope is genuinely useful when comparing capacities, because only the electrical specification changes.
Rectangular case. One Taishan footprint, 386.2 × 97 × 157.4mm, across the range.
A triangle-profile case. Our HS-II packs use a tapered case for frames where a rectangular pack is too long or too tall. Its dimensioned drawing gives every edge: 360.6mm along the long straight edge, 281.3mm along the sloped edge, 195.3mm across the base and 131.6mm up the short end, at 97mm thick. Template the outline from those five figures, then add the mounting plate and connector exactly as you would for a rectangular pack.
HS-II drawing. Every edge is labelled, so you can cut an accurate template.
The general point holds either way: a rectangular case is easier to template and predict, while a tapered case needs every edge checked individually, because a single "height" figure tells you nothing about a sloping top edge meeting a sloping top tube.
Make Your Own Full-Size Template
You do not need a downloadable file. Take the pack’s length, width and height, plus the rail length and offset, and draw the outline on cardboard at full size. Mark the connector position and its cable bend radius, the lock and key position, and an arrow showing the slide-off direction with the required distance marked along it.
Draw a 100mm calibration bar on the same sheet and check it with a ruler before cutting
Cut the exact outline, including the rail footprint rather than the case alone
Mark the mounting-hole positions so you can check them against your bosses
Place it in the intended position with bars turned and suspension compressed
Slide it along the removal path for the full distance, watching the top tube throughout
What Not to Do to Make a Battery Fit
Do not
Why
Force the pack between the tubes
Case damage and stressed cells are a fire risk
Rely on a single loose strap
A heavy pack needs a rated mount, not a strap
Drill a carbon frame
Never, under any circumstances
Drill or modify any frame without approval
Frame tubes are stressed structures
If it does not fit safely, the answer is a different pack or format, not modification.
Battery Options to Compare
Four routes, listed alphabetically and judged on the same criteria: case format, published dimension data and the main fit limitation. Request a dimensioned drawing from any supplier before ordering.
1. Cyrusher Battery Sizing
A complete-bike manufacturer whose battery sizing is a useful reference point for anyone comparing case formats, because packs designed around a specific frame show what integrated fit looks like. The relevance to a conversion buyer is limited: these are designed for their own frames rather than sold as universal conversion packs, so treat the dimensions as a comparison benchmark rather than a purchase option. Availability outside their own bikes is restricted.
2. EM3ev Conversion Packs
A long-established battery maker and a good reference for dimension transparency: its standard 52V range lists the case dimensions, in rectangle and triangle formats, which is exactly what this article recommends demanding. Custom builds are mainly for business customers, so individual buyers usually choose from the standard range. The trade-offs are lead time, international shipping and support arrangements, and a higher price than stocked packs.
3. Generic Marketplace Cased Packs
The large category of Hailong-style cased batteries sold through marketplaces, where the case standard is common enough that rails and spares are easy to source and dimensions are often listed. That standardisation is a genuine advantage for fit planning. The cautions are the familiar ones: listed dimensions are frequently the case only rather than the installed footprint, rail length and removal clearance are rarely stated, and cell and BMS specifications may be vague. Ask for a dimensioned drawing before ordering.
4. KirbEbike Taishan, HS-II and Entry Range
Rail-mounted cased packs across three families. The Taishan envelope is 386.2 × 97 × 157.4mm and consistent across variants; the entry range case is shorter at 368 × 125 × 95mm; and the HS-II triangle case has a dimensioned drawing for all four edges and its 97mm thickness. Honest limits: rail-hole spacing and minimum removal clearance are not published for any family yet, so ask us for them for your variant, and the packs are matched to our own systems rather than universal.
Option
Case format
Dimension data
Best for
Main limitation
Cyrusher
Bike-specific
Published per model
Benchmarking formats
Not a conversion pack
EM3ev
Custom
Drawings before purchase
Awkward frame pockets
Lead time and shipping
Generic marketplace
Hailong-style cased
Case only, usually
Easy rails and spares
Installed footprint unstated
KirbEbike
Rail-mounted cased
Taishan, entry and HS-II drawings published
Matched to our kits
Ask for rail-hole spacing
Listed alphabetically. Ask every supplier for case, rail and removal-clearance dimensions.
Pre-Purchase Fit Checklist
💡
Six things to have in hand before ordering
A dimensioned case drawing — case, rail, connector and lock, not three numbers
Your measured frame pocket — narrowest width, usable length, height under the top tube
Bottle-boss centre spacing — measured, and compared against the rail slot range
Removal direction and distance — the full slide path traced and confirmed clear
Crank, tyre and shock clearance — checked at full lock and full suspension compression
Rated mounting and pack weight — a mount specified for the load, not a strap
Then confirm the electrical side separately — voltage, continuous current and BMS rating against your controller, using our battery-to-motor matching guide — and check frame material and condition before committing. Government guidance is clear that damaged, poor-quality or incorrectly used battery systems can fail rapidly (GOV.UK).
Product touchpoint
Ask for the drawing before you buy
The single most useful thing you can do is request a dimensioned drawing showing case, rail, connector and lock — from us or from any supplier. For our Taishan packs the envelope is 386.2 × 97 × 157.4mm across variants, and the HS-II drawing gives all four edges plus its 97mm thickness. Template it, trace the removal path, then check the battery range. If your frame has no safe central pocket, we would rather point you to a rack format than sell you a pack you cannot remove.
Conclusion: Template It, Then Trace the Removal Path
Three checks decide whether a battery fits, and they have to be made in order. The case envelope has to clear the frame pocket including the rail, connector and lock. The rail has to align with your bottle bosses without pushing the pack into a tube or the cranks. And the removal path has to stay clear for the full slide-off distance, because a battery you cannot take off is one you will not charge indoors.
So measure rather than estimate, make a full-size template and verify its scale, leave an installation margin instead of a zero-clearance fit, and never modify a frame to force a fit. If the pack does not go in safely, change the pack or the format. Use a rated mount for the weight, keep the connector unstrained, and charge with the authorised charger only (GOV.UK).
Case, rail, removal — in that order
Most fit failures are the third check. Trace the whole slide path before you buy.
How do I know if an ebike battery will fit my frame?
Make a full-size template of the case plus rail, place it in the intended position with the bars turned and suspension compressed, then slide it along the removal path for the full distance to check nothing blocks it.
What dimensions do I need for an ebike battery?
Length, maximum width and height, rail length and offset, mounting-hole spacing, connector projection, lock and key projection, and the minimum slide-off distance. The last one is the most commonly omitted.
Why does my battery fit but not come off?
Because static fit and removal fit are different tests. Rail-mounted packs slide along the rail axis, and a top tube, seat tube or shock can block that path even though the pack sits perfectly when mounted.
What is the standard bottle-boss spacing on a bike?
Most frames use 64mm centre-to-centre, but measure yours rather than assuming, and compare it against the rail’s slot or hole range before ordering.
Can I drill my frame to fit a battery?
Never on carbon. On any other frame, only with the frame manufacturer’s approval and a competent professional. Frame tubes are stressed structures and a hole in the wrong place is a safety problem.
Does a bigger frame mean more battery space?
Usually but not reliably. A sloping top tube can leave a large frame with a smaller usable triangle than a smaller frame with a level top tube. Measure the actual pocket rather than trusting the size label.
Do all 20Ah, 25Ah and 30Ah batteries use the same case?
No. Capacity describes energy, not dimensions, and different capacities may use different case families depending on cell layout. Always check the case drawing rather than inferring from amp-hours.
Will a battery fit a full-suspension frame?
Sometimes, but clearance must be checked through the entire suspension travel rather than at rest, because the shock and linkage sweep through the space a pack would occupy.
What if my frame has no bottle bosses?
Use a rated clamp or adapter plate designed to spread the load across the tube, or choose a rack-mounted pack. Do not rely on a single strap for a heavy battery, and do not drill the frame.
How much clearance should I leave around the battery?
Leave a genuine installation margin rather than a zero-clearance fit. Paint thickness, cables, tolerance and the need to get your hands in all consume space that a template does not show.
A note on safety & legality. General information, not a substitute for the frame or battery manufacturer’s instructions. Never force a battery into a frame, never trap or strain the connector, and never rely on a single strap to carry a heavy pack — use a mount rated for the load. Never drill a carbon frame, and do not drill or modify any frame without the manufacturer’s approval and a competent bicycle professional. Do not mount a pack where it can contact the crank, tyre or suspension in use. Charge with the supplied or authorised charger only, in a dry ventilated place away from escape routes, and stop using any pack showing damage, swelling, unusual smell or heat. In Great Britain a converted cycle is an EAPC only when it has working pedals, a motor rated no higher than 250W continuous and assistance stopping at 15.5mph; battery size does not affect that classification (GOV.UK).
About this guide
Author: KirbEbike Editorial. Technical review: KirbEbike conversion-support team. Last reviewed: October 2026. Methodology: safety guidance cross-checked against GOV.UK, OPSS and London Fire Brigade, cited inline. The removal-path diagram is a schematic illustrating the principle, not a scale drawing of any specific frame or pack. The Taishan case envelope of 386.2 × 97 × 157.4mm is our confirmed published figure. HS-II figures come from the dimensioned drawing in its product gallery, which identifies each edge; the entry-pack figures come from its product image. Rail-hole spacing, slide-off direction diagrams and minimum removal-clearance measurements are not yet published for any family. Readers are directed to request measured figures for the exact variant. Competitor details are the suppliers’ own published claims. Confirm case, rail and removal dimensions before ordering.
Stay in the know
Conversion guides, fitting advice and the deals worth knowing about. No spam.