Deciding between DIY installation and professional service for your e-bike conversion kit represents a critical choice that impacts cost, timeline, learning experience, and final results. While the best ebike kit systems are designed for straightforward DIY installation in just 20-40 minutes, understanding your mechanical comfort level, available time, tool access, and desired outcomes helps determine the optimal approach.
This comprehensive guide examines both installation methods across all important dimensions, providing the clarity you need to make the right decision for your specific situation and capabilities.
Understanding Your Installation Options
Modern e-bike conversion kits offer two distinct installation pathways, each with unique advantages, challenges, and suitability for different rider profiles and circumstances.
DIY Installation Overview
What It Involves:
- Self-guided installation following instructions
- Using included and basic personal tools
- 20 minutes for hub motor systems
- 30-40 minutes for mid-drive systems
- Video tutorials and online support
- Hands-on learning experience
- Complete system understanding
Who It's For:
- Mechanically comfortable individuals
- Those wanting system knowledge
- Budget-conscious converters
- DIY enthusiasts
- People with adequate time
- Learners seeking experience
Professional Installation Overview
What It Involves:
- Expert mechanic performs installation
- Specialized tools and workspace
- Professional quality assurance
- Immediate riding readiness
- Service warranty coverage
- Troubleshooting expertise
- Component compatibility verification
Who It's For:
- Time-constrained individuals
- Those uncomfortable with mechanics
- Valuable or complex bicycles
- Zero DIY interest
- Peace of mind seekers
- Professional results priority
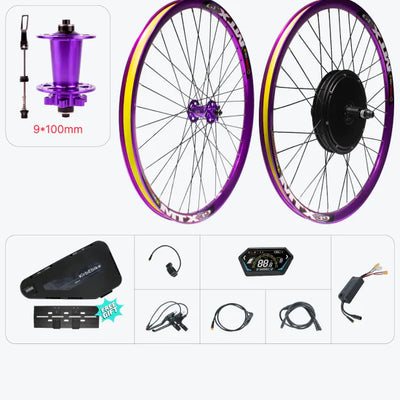
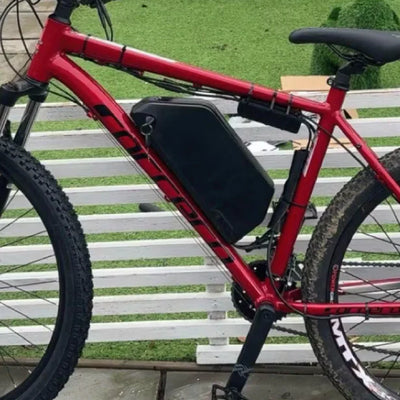
Comprehensive Comparison: DIY vs Professional
![]()

Cost Analysis
DIY Installation Costs:
|
Component
|
DIY Cost
|
Notes
|
|
Conversion Kit
|
Kit purchase only
|
Complete system included
|
|
Tools Required
|
£0-50
|
If you lack basic tools
|
|
Learning Time
|
£0
|
Personal time investment
|
|
Mistakes/Redo
|
£0-100 potential
|
If errors made
|
|
Total DIY Cost
|
Kit + £0-150
|
Significant savings
|
Professional Installation Costs:
|
Component
|
Professional Cost
|
Notes
|
|
Conversion Kit
|
Kit purchase
|
Same kit cost
|
|
Installation Service
|
£50-200
|
Varies by location/complexity
|
|
Specialist Shop
|
£100-300
|
E-bike specialists charge more
|
|
Travel/Transport
|
£0-50
|
Getting bike to shop
|
|
Total Professional Cost
|
Kit + £50-300
|
Convenience premium
|
Cost Savings:
- DIY saves £50-300 per conversion
- Multiply savings if converting multiple bikes
- DIY knowledge enables future maintenance savings
- Professional costs increase with complexity
- Hub motors cheaper to install than mid-drive
Time Investment Comparison
DIY Installation Timeline:
Hub Motor System:
- Reading instructions: 15-30 minutes
- Watching video tutorials: 15-30 minutes
- Gathering tools: 10-15 minutes
- Actual installation: 20-30 minutes
- Testing and adjustment: 15-30 minutes
- Total time: 75-135 minutes
Mid-Drive System:
- Reading instructions: 20-40 minutes
- Watching video tutorials: 20-40 minutes
- Gathering tools: 10-15 minutes
- Actual installation: 30-50 minutes
- Testing and adjustment: 20-40 minutes
- Total time: 100-185 minutes
First-Time Installation:
- Add 50% more time for learning
- Potential troubleshooting time
- Taking photos for documentation
- Careful double-checking
- Confidence building
Professional Installation Timeline:
Drop-Off and Pickup:
-
Travel to shop: 15-45 minutes
-
Consultation time: 15-30 minutes
-
Wait time or return trip: Variable
- Installation by shop: 1-3 hours
-
Pickup and final check: 15-30 minutes
- Total personal time: 45-145 minutes
- But bike unavailable: 1-7 days typical
Scheduling Considerations:
- Shop availability varies
- Appointment wait times
- Peak season delays
- Parts ordering delays
- Multiple bikes extend timeline
Skill Requirements and Learning
DIY Skill Assessment:
Minimum Required Skills:
- Comfortable with basic hand tools
- Understanding of bicycle components
- Ability to follow detailed instructions
- Patience for methodical work
- Problem-solving mindset
- Willingness to learn
Mechanical Experience Levels:
Beginner (Minimal Experience):
- Can change bike tire
- Used Allen keys before
- Comfortable with instructions
- Willing to watch tutorials
- Hub motor recommended
- Allow extra time
Intermediate (Some Experience):
- Performed basic bike maintenance
- Changed cassette or brakes
- Understands drivetrain
- Confident with tools
- Both hub and mid-drive suitable
- Standard timeline applicable
Advanced (Experienced):
- Regular bike maintenance
- Bottom bracket removal experience
- Electrical system comfort
- Diagnostic abilities
- All systems suitable
- Can optimize installation
Professional Skill Level:
What Professionals Bring:
- Years of bicycle mechanics experience
- Specialized tool access
- E-bike specific knowledge
- Troubleshooting expertise
- Quality assurance processes
- Warranty-backed work
Quality and Reliability
DIY Installation Quality Factors:
Advantages:
- Personal attention to detail
- Take time for perfection
- Learn system thoroughly
- Verify every connection
- Understand troubleshooting
- Pride in workmanship
Potential Challenges:
- First-time mistakes possible
- May miss subtle details
- Cable management practice needed
- Torque specifications crucial
- Testing thoroughness varies
- Learning curve involved
Professional Installation Quality:
Advantages:
- Expert component installation
- Proper torque specifications
- Professional cable management
- Comprehensive testing
- Safety verification
- Experience-based optimization
Potential Limitations:
- Shop may lack e-bike expertise
- Busy shops rush work
- Junior mechanics assigned
- One-size-fits-all approach
- Limited customization
- You don't learn system
Support and Troubleshooting
DIY Support Resources:
Available Support:
- Detailed written instructions included
- Comprehensive video tutorials
- Manufacturer technical support
- Email and phone assistance
- Active online communities
- User forums with solutions
- YouTube installation videos
- Step-by-step photo guides
Self-Support Development:
- Deep system understanding
- Diagnostic skill building
- Future self-maintenance
- Problem-solving confidence
- Component knowledge
- Modification capability
Professional Support:
Service Benefits:
- Immediate expert assistance
- In-person troubleshooting
- Warranty-backed work
- Free adjustments period
- Relationship with shop
- Future service priority
Limitations:
- May refuse future service
- Warranty complexity
- Return trip required
- Shop hours limitations
- Cost for each visit
- Limited self-sufficiency
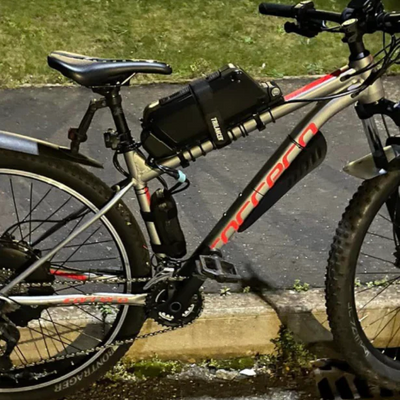
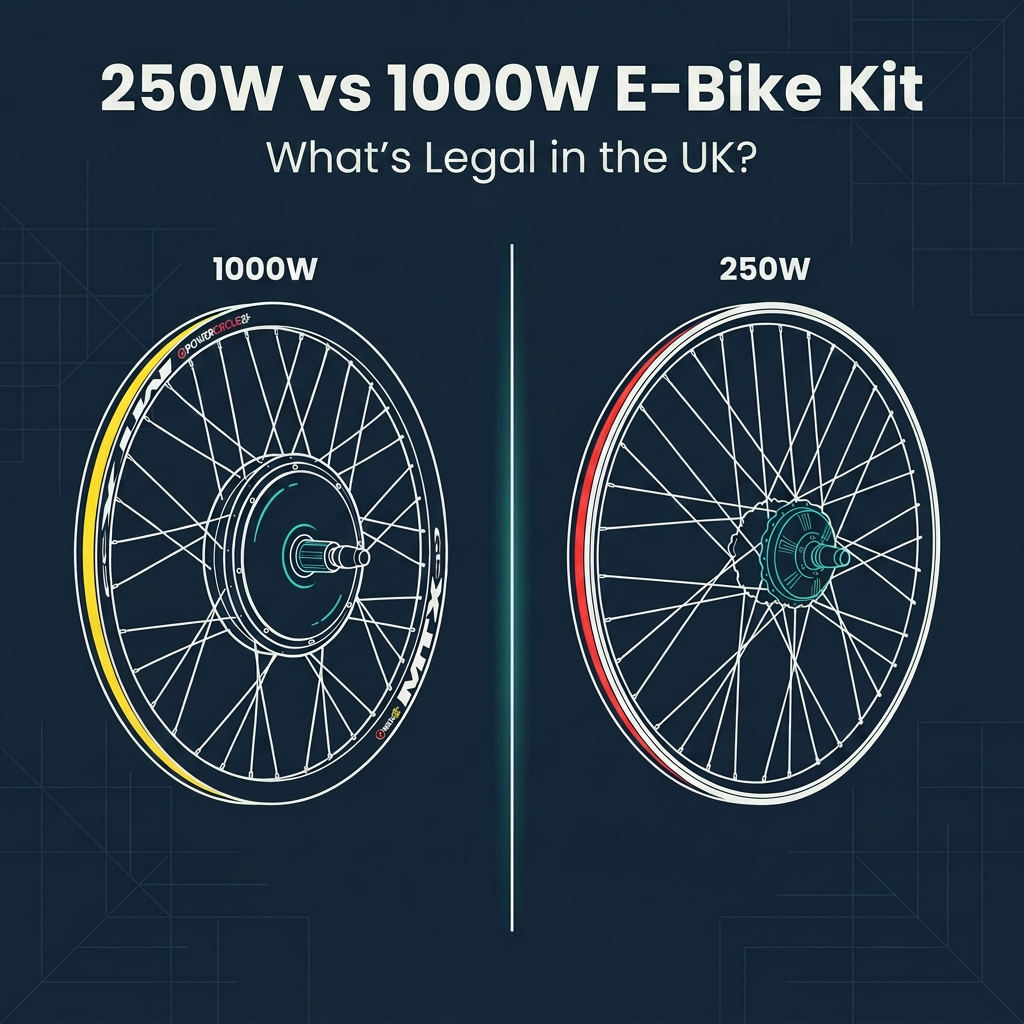
Step-by-Step DIY Installation Process
![]()

Hub Motor Installation
Phase 1: Preparation (15-20 minutes)
- Watch complete installation video
- Read all instructions thoroughly
- Lay out all components
- Verify parts against checklist
- Organize tools and workspace
- Take "before" photos
Phase 2: Wheel Removal (5-10 minutes)
- Remove existing wheel
- Remove tire and tube (if reusing)
- Transfer cassette to motor wheel
- Install tire and tube on motor wheel
- Check spoke tension
Phase 3: Motor Installation (15-20 minutes)
- Install torque arm(s) properly
- Insert motor wheel in dropouts
- Connect motor cable
- Tighten axle nuts to specification
- Verify wheel alignment
- Check brake alignment
Phase 4: Component Installation (20-30 minutes)
- Mount battery securely
- Install controller (if separate)
- Mount display on handlebars
- Install brake sensors
- Install pedal assist sensor
- Install throttle
Phase 5: Electrical Connections (15-20 minutes)
- Connect battery to controller
- Connect motor to controller
- Connect display
- Connect all sensors
- Secure all connections
- Route and secure cables
Phase 6: Testing (15-20 minutes)
- Visual inspection of all components
- Power on system
- Check display function
- Test brake cutoffs
- Test pedal assist
- Test throttle
- Check for errors
Phase 7: Final Adjustments (10-15 minutes)
- Cable management cleanup
- Configure display settings
- Set wheel diameter
- Adjust pedal assist levels
- Verify all functions
- Document settings
Mid-Drive Installation
The mid motor electric conversion kit requires additional steps:
Additional Complexity:
- Bottom bracket removal (requires special tool)
- Motor unit installation
- Chainring installation
- Chain length adjustment
- Derailleur adjustments
- Torque sensor calibration
Time Addition:
- Add 10-20 minutes for bottom bracket work
- Add 10-15 minutes for drivetrain adjustments
- Total time: 30-50 minutes typical
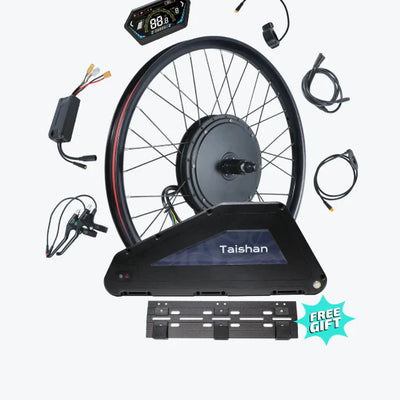
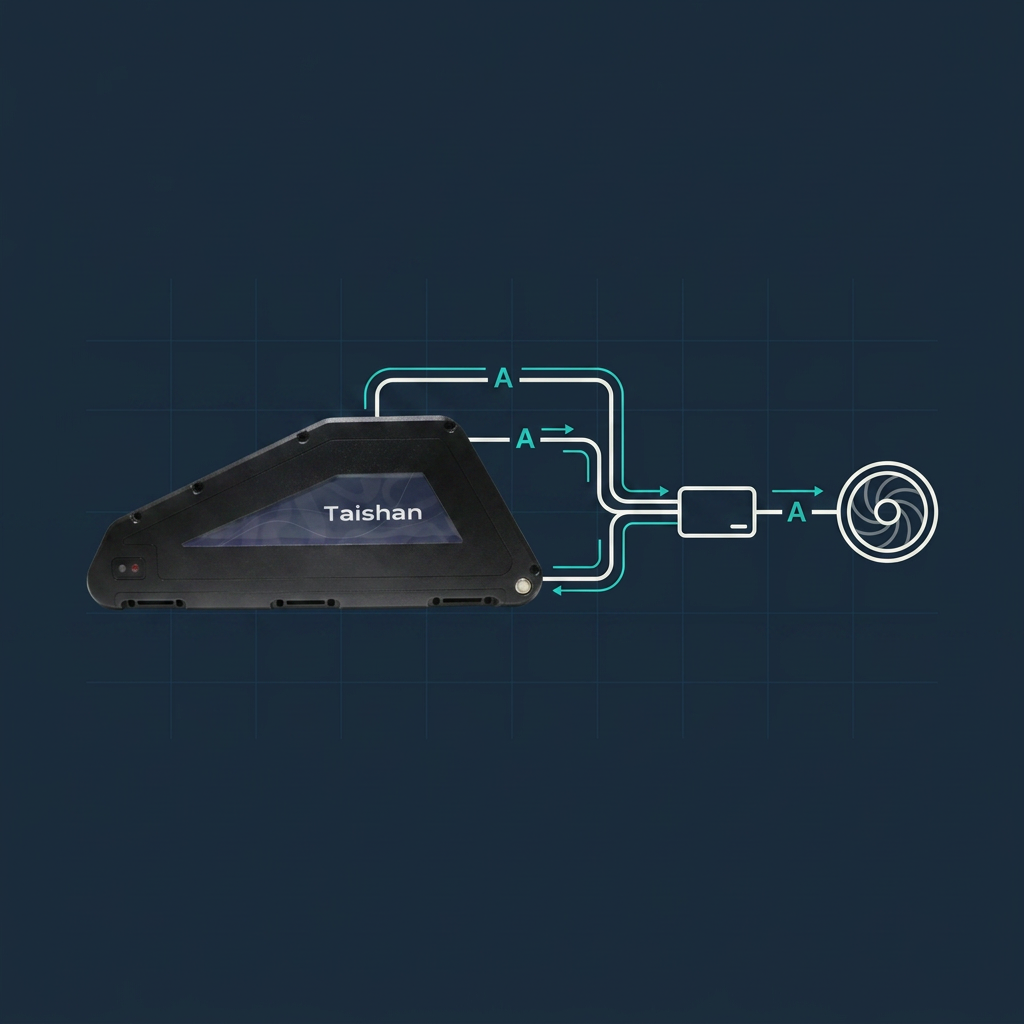
Professional Installation Process
![]()

What Professionals Do
Initial Assessment (15-30 minutes):
- Inspect bicycle condition
- Verify compatibility
- Discuss options and preferences
- Identify potential issues
- Provide time/cost estimate
- Order any needed parts
Installation Work (1-3 hours):
- Systematic component installation
- Professional cable routing
- Proper torque application
- Electrical system testing
- Safety verification
- Quality assurance checks
Final Delivery (15-30 minutes):
- System demonstration
- Feature explanation
- Maintenance guidance
- Questions answered
- Test ride together
- Documentation provided
Finding Quality Professional Installation
Where to Look:
Bike Shop Options:
- Local independent bike shops
- E-bike specialty shops
- High-end bike retailers
- Mobile bike mechanics
- Conversion kit retailers
Evaluation Criteria:
- E-bike experience level
- Customer reviews
- Warranty terms
- Turnaround time
- Communication quality
- Fair pricing
Questions to Ask:
- Have you installed this specific kit before?
- What's your e-bike conversion experience?
- What warranty do you offer?
- How long will installation take?
- What if issues arise?
- Do you service converted bikes?
- Can I watch the installation?
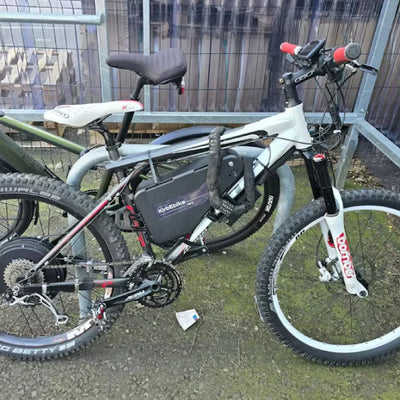
Hybrid Approach: Assisted DIY
![]()

Best of Both Worlds
Partial Professional Help:
- Install basic components yourself
- Professional handles complex parts
- Expert verifies your work
- Learn with guidance
- Cost savings partial
- Confidence building
Common Hybrid Scenarios:
You Install, Professional Inspects:
- Complete installation yourself
- Professional safety check
- Expert verification
- Minor adjustments
- Peace of mind
- Modest service fee
Professional Installs, You Learn:
- Watch professional install
- Ask questions throughout
- Take photos/notes
- Understand for maintenance
- Best of both approaches
- Education investment
Making Your Final Decision
![]()

Decision Checklist
Assess Yourself Honestly:
- Mechanical comfort level realistic
- Time availability sufficient
- Tools accessible or affordable
- Workspace adequate
- Learning interest genuine
- Budget determined
- Patience level appropriate
Evaluate Your Situation:
- Bike condition verified
- Complexity assessed
- Support resources identified
- Timeline flexibility confirmed
- Professional options researched
- Hybrid possibility considered
Make Informed Choice:
- Consider all factors comprehensively
- Be realistic about abilities
- Factor in learning value
- Assess long-term benefits
- Choose without pressure
- Commit to chosen path
Conclusion
For most riders with basic mechanical comfort and 2-3 hours available, DIY installation of the electric bike kit battery systems delivers exceptional value through significant cost savings, complete system understanding, and genuine satisfaction from hands-on accomplishment.
The 20-minute hub motor installation timeline proves accurate for methodical first-timers following included instructions and video tutorials, while the modest additional complexity of mid-drive systems remains manageable with proper preparation.
Professional installation suits time-constrained individuals, those genuinely uncomfortable with mechanics, or high-value bicycles where expert handling justifies the service premium. However, the DIY approach with comprehensive manufacturer support, abundant online resources, and active community assistance enables the vast majority of converters to achieve professional-quality results while developing valuable long-term maintenance capabilities.
Ready to begin your conversion journey? Explore the complete ebike kit battery range with detailed installation videos, comprehensive support, and all tools included for successful DIY installation—or contact support for professional installer recommendations in your area.
Frequently Asked Questions
Is DIY installation really feasible for someone with no mechanical experience?
If you're comfortable using basic hand tools and following detailed instructions, hub motor installation proves straightforward in 20-30 minutes after watching tutorials. However, mid-drive systems require bottom bracket work better suited for those with some bike maintenance experience. Start with simpler hub motor conversion to build confidence and skills.
How much does professional e-bike conversion kit installation typically cost?
Professional installation ranges from £50-200 at general bike shops to £100-300 at e-bike specialists, varying by location, shop reputation, and system complexity. Mid-drive installations cost more than hub motors. Many shops reluctant to install customer-supplied kits, so confirm service availability before purchasing conversion kit.
What happens if I make mistakes during DIY installation?
Modern conversion kits include keyed connectors preventing most incorrect connections. Common mistakes involve cable routing, sensor alignment, and torque specifications—all correctable without component damage. Comprehensive manufacturer support, online forums, and video tutorials help troubleshoot issues. In worst case, professional can inspect and correct installation for modest fee.
Can I watch a professional install my conversion kit to learn the process?
Many shops allow customers to observe installation, providing excellent learning opportunity while ensuring professional results. Discuss this during initial consultation—some mechanics welcome engaged customers while others prefer working independently. This hybrid approach delivers professional quality while building your system understanding for future maintenance.
How long does professional installation take compared to DIY?
While professional mechanics complete installation in 1-3 hours, total timeline including drop-off, shop scheduling, and pickup typically spans 1-7 days depending on shop workload. DIY installation takes 75-135 minutes for hub motors, 100-185 minutes for mid-drives, but you control exact timing and have immediate bike availability.
Will DIY installation void my conversion kit warranty?
Quality conversion kits explicitly support DIY installation without voiding warranty, as this represents their primary intended use. However, improper installation causing component damage may not be covered. Follow all instructions carefully, document installation with photos, and contact manufacturer support with any questions to maintain full warranty protection.
Should I choose DIY or professional installation for my first conversion?
Choose DIY if you're mechanically comfortable, have adequate time, want system knowledge, and value cost savings. Choose professional if genuinely uncomfortable with tools, extremely time-constrained, converting high-value bike, or prioritize guaranteed results over learning experience. Assess honestly without pressure—both approaches succeed for appropriate situations.
: invalid url input)
usmile
Liquid error (snippets/blog-best-product line 36): product form must be given a product
Liquid error (snippets/blog-best-product line 59): product form must be given a product