E-bike motor wheels experience significantly more stress than standard bicycle wheels due to increased weight, torque, and higher speeds. Whether you've installed a front wheel motor or rear hub system, proper spoke maintenance and wheel truing are essential skills that will extend your motor wheel's lifespan and ensure safe riding.
This guide walks you through everything you need to know about keeping your e-bike wheel straight and your spokes in optimal condition.
Why E-Bike Motor Wheels Need Special Attention
![]()

Motor wheels face unique challenges that regular bicycle wheels don't encounter:
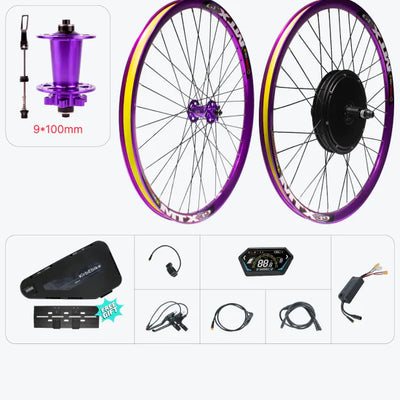
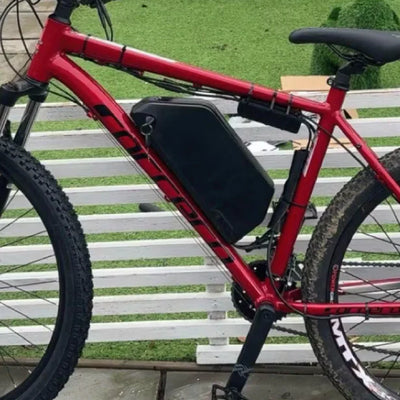
Increased weight burden: Hub motors typically add 4-7kg to a wheel, with some high-power motors exceeding 8kg. This extra weight puts constant stress on spokes even when stationary.
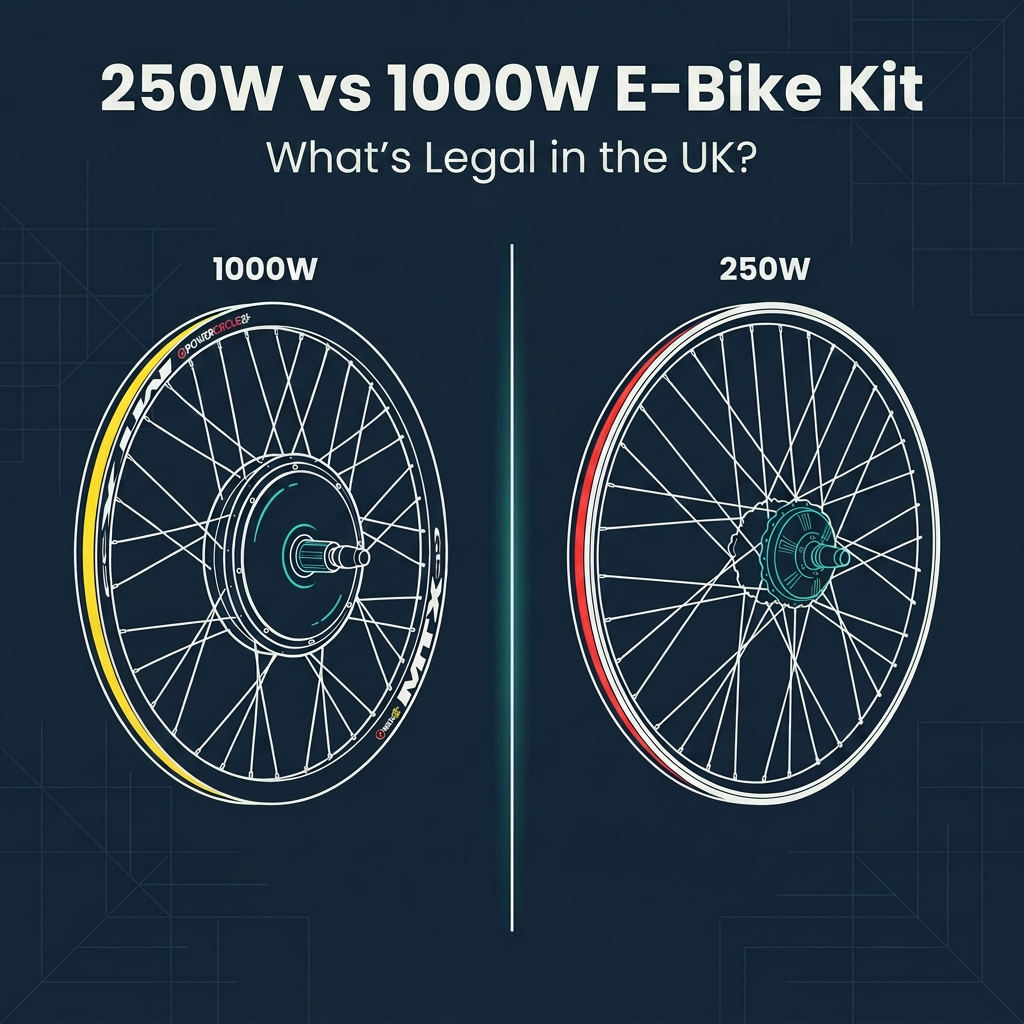
Torque amplification: When the motor engages, it generates rotational forces that transfer directly through the spokes to the rim. High-power systems delivering 1000W or more can create significant spoke tension variations.
Asymmetric spoke patterns: Many motor wheels use different spoke lengths on the motor side versus the non-motor side, creating uneven tension distributions that require more frequent attention.
Higher speeds and impacts: E-bikes travel faster than pedal-only bikes, meaning wheels encounter road imperfections with greater force, increasing the likelihood of spoke loosening and wheel deformation.
Understanding these factors helps explain why e-bike wheels require more frequent maintenance—typically every 500-1000 km compared to 2000-3000 km for standard bicycles.
Essential Tools for Motor Wheel Maintenance
![]()

Before starting spoke maintenance or wheel truing, gather these tools:
Basic Tool Kit
-
Spoke wrench (spoke key) – Match the size to your spoke nipples; most e-bikes use 12-gauge or 13-gauge spokes
-
Truing stand (optional but helpful) – Professional stands are ideal, but you can improvise with your bike frame or fork
-
Zip ties or cable ties – Create makeshift depth gauges when working without a truing stand
-
Tire levers – For removing tires to access spoke nipples
-
Spoke tension meter (advanced) – Ensures even tension across all spokes
-
Replacement spokes – Keep spares matching your wheel specifications
-
Spoke prep or thread lock – Prevents nipples from loosening over time
Understanding Spoke Specifications
E-bike motor wheels typically use:
|
Spoke Gauge
|
Diameter
|
Common Use
|
Strength Level
|
|
12g
|
2.6mm
|
Heavy-duty e-bikes, high-power motors
|
Highest
|
|
13g
|
2.3mm
|
Standard e-bike conversions
|
High
|
|
14g
|
2.0mm
|
Light-duty e-bikes only
|
Standard
|
Material recommendations: Stainless steel or 45# high-carbon steel spokes offer the best balance of strength and durability for motor wheels. Avoid standard bicycle spokes on motors over 500W.
Inspecting Your Motor Wheel for Problems
![]()

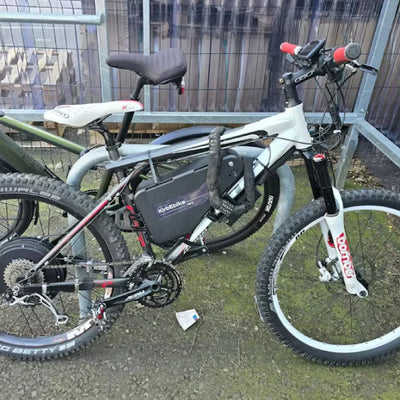
Regular inspection catches problems before they become serious failures.
Visual Inspection Checklist
Weekly checks (for regular riders):
- Spin the wheel and watch the rim's path relative to the brake pads or frame
- Look for loose, broken, or missing spokes
- Check for cracks around spoke holes in the rim
- Inspect the motor cable exit point for wear
- Verify motor mounting bolts remain tight
Listen for warning signs:
- Pinging or creaking noises during acceleration
- Clicking sounds that sync with wheel rotation
- Scraping or rubbing sounds from rim deformation
Physical spoke checks:
- Squeeze parallel spoke pairs—they should have similar resistance
- Pluck spokes like guitar strings; a dull thud indicates looseness while a clear ping suggests proper tension
- Check spoke threads aren't backing out of nipples
When to Address Issues Immediately
Don't ride if you notice:
- Three or more broken spokes
- Severe rim wobble (more than 5mm lateral movement)
- Loose motor mounting causing play in axle
- Spokes pulling through rim holes
How to True an E-Bike Motor Wheel
Truing corrects two types of wheel deformation: lateral (side-to-side wobble) and radial (up-and-down hop). Most e-bike issues involve lateral truing.
Setting Up Your Workspace
Option 1: Using a truing stand Professional bike shops use dedicated truing stands with adjustable calipers. If you have access to one, follow the manufacturer's setup instructions.
Option 2: DIY truing with your bike frame
- Remove the wheel from your bike
- Reinstall it in the frame or fork upside down
- Attach zip ties to the frame/fork on both sides of the rim
- Position zip tie ends 2-3mm from the rim surface as reference markers
Option 3: No-removal method If your e-bike conversion kit has sufficient clearance between rim and brake pads or frame, you can true without removal by using the brake pads or frame stays as reference points.
Step-by-Step Lateral Truing Process
Step 1: Identify the wobble Spin the wheel slowly and watch where the rim moves closest to your reference point (zip tie, caliper, or frame). Mark this high spot with chalk or tape.
Step 2: Understand spoke mechanics
- Tightening a spoke pulls the rim toward that spoke's side
- Loosening a spoke allows the rim to move away from that side
- Motor-side spokes are often shorter and already under higher tension
Step 3: Make adjustments For a rim section that's too close to the right side:
- Locate the spoke nipple at the wobble's center point coming from the right hub flange
- Loosen this spoke by turning the nipple 1/4 turn counterclockwise (when viewing from the nipple end)
- Tighten the corresponding left-side spoke by 1/4 turn clockwise
- Check progress by spinning the wheel
Critical adjustment principles:
- Make small adjustments (1/4 turn maximum per iteration)
- Work on groups of 3-5 spokes around the problem area
- Tighten and loosen opposing spokes equally to maintain overall tension
- Re-check frequently—overcorrection creates new problems
Step 4: Fine-tuning Once major wobbles are corrected:
- Reduce adjustment increments to 1/8 turn
- Work systematically around the entire wheel
- Aim for less than 1mm lateral deviation
- Check that all spokes have similar tension
Radial Truing (Correcting Hops)
If the wheel has up-and-down variations:
- Identify the high spot by spinning the wheel and watching the rim's distance from a fixed point
- At the high spot, loosen spokes on both sides equally (1/4 turn each)
- At low spots, tighten spokes on both sides equally
- This is less common than lateral issues but more challenging to correct
Special Considerations for Motor Wheels
Motor-side spoke tension: The side of the wheel with the motor typically has shorter spokes under higher tension. Be extremely cautious when adjusting these—over-tightening can strip nipples or crack the rim.
Non-uniform spoke patterns: Some motor wheels use different lacing patterns (crossing patterns) on each side. Familiarize yourself with your wheel's pattern before making adjustments.
Torque arm interference: If your kit includes torque arms, ensure they don't interfere with truing adjustments or spoke access.
Preventing Spoke Problems
Prevention is far easier than repair, especially with e-bike motor wheels.
Installation Best Practices
When initially installing your motor wheel:
- Ensure all spokes are properly tensioned before first ride
- Check spoke tension after first 50km of riding (breaking-in period)
- Apply spoke prep or thread lock to nipples to prevent loosening
- Verify correct torque arm installation to minimize spoke stress
Ongoing Maintenance Schedule
|
Interval
|
Task
|
Why It Matters
|
|
Weekly
|
Visual inspection and spoke squeeze test
|
Catches problems early before they escalate
|
|
Every 500km
|
Check spoke tension, minor truing adjustments
|
Prevents progressive loosening
|
|
Every 1000km
|
Full wheel inspection and professional truing if needed
|
Maintains optimal wheel geometry
|
|
After crashes or hard impacts
|
Immediate inspection and truing
|
Prevents cascade failures from impact damage
|
Riding Habits That Protect Your Wheels
Do:
- Brake progressively rather than sudden hard stops
- Avoid jumping curbs or hitting potholes at speed
- Distribute load evenly if carrying cargo
- Use appropriate tire pressure for your weight and terrain
Don't:
- Exceed weight limits specified by motor manufacturer
- Use excessive power on extremely rough terrain
- Ignore early warning signs like spoke noises
- Continue riding with multiple broken spokes
Conclusion
Proper spoke maintenance and wheel truing are essential skills for anyone running an e-bike conversion kit. Motor wheels endure significantly more stress than conventional bicycle wheels, making regular inspection and maintenance critical for safe, reliable operation.
By following the techniques outlined in this guide—from basic spoke tension checks to complete wheel truing—you'll extend your motor wheel's lifespan and prevent costly failures. Remember that prevention through regular maintenance is always easier than emergency repairs.
If you're installing a new e-bike kit, take time to properly tension all spokes before your first ride, and establish a regular maintenance schedule based on your riding frequency. With proper care, your motor wheel will provide thousands of kilometers of trouble-free electric assistance.
Frequently Asked Questions
How often should I check spoke tension on my e-bike motor wheel?
Check spoke tension every 500km for high-power motors (1000W+) and every 1000km for lower-power systems. After initial installation, check at 50km and 200km during the break-in period when components settle. Immediate inspection is necessary after any crash or hard impact.
Can I use regular bicycle spokes to replace broken spokes on my motor wheel?
No, motor wheels require high-strength spokes specifically designed for the additional stress. Use 12-gauge or 13-gauge stainless steel or 45# carbon steel spokes. Regular bicycle spokes will fail quickly under motor torque, potentially causing wheel collapse.
What's the difference between truing a front motor wheel versus a rear motor wheel?
Front motor wheels are generally easier to true as they have more symmetrical spoke tensions and better access. Rear motor wheels have additional complications from the cassette or freewheel, require removal of the drivetrain components, and often have more extreme spoke tension differences between sides.
How do I know if my motor wheel needs professional rebuilding instead of just truing?
Consider professional rebuilding if more than 6-8 spokes have broken over the wheel's life, the rim shows structural damage or cannot be trued within 2mm tolerance, hub bearings need replacement, or you've had recurring spoke failures despite proper maintenance.
Why do spokes break more frequently on the motor side of the wheel?
Motor-side spokes are shorter and under higher initial tension to compensate for the motor's bulk taking up hub space. When the motor applies torque, these spokes experience the greatest load variations, leading to fatigue failure over time, especially on high-power systems.
Can I true my motor wheel without removing it from the bike?
Yes, if there's sufficient clearance between the rim and brake pads or frame. Use the brake pads or frame stays as reference points. However, accessing spoke nipples is easier with the wheel removed, and you may need to remove the tire for internal nipple access regardless.
What's the proper spoke tension for e-bike motor wheels?
Motor-side spokes should be tensioned 20-30% higher than non-motor side spokes. Typical ranges are 120-140 kgf for motor-side and 100-120 kgf for non-motor side, though this varies by wheel size, spoke count, and motor weight. Consistent tension matters more than absolute values.
: invalid url input)
usmile
Liquid error (snippets/blog-best-product line 36): product form must be given a product
Liquid error (snippets/blog-best-product line 59): product form must be given a product