Noticing your e-bike no longer covers the distance it once did is one of the most frustrating experiences for converted bicycle owners. What used to be a comfortable 60km round trip now barely manages 40km on the same route, same conditions.
Before assuming your battery needs immediate replacement, it's worth systematically diagnosing the true cause—because range loss on an older e-bike conversion kit can stem from multiple sources, some surprisingly simple to fix. This guide walks you through a complete diagnostic process, from quick checks to advanced testing.
Understanding Why Range Decreases Over Time
![]()

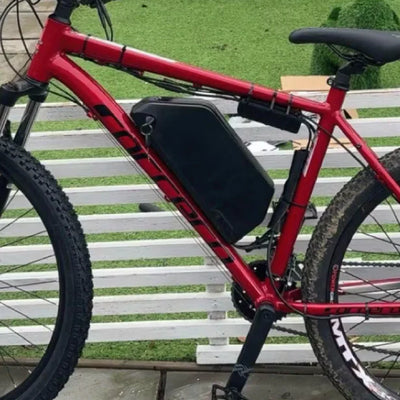
Range loss is rarely sudden—it typically develops gradually over months of use. Understanding the contributing factors helps focus your diagnostic effort where it matters most.
The three main categories of range loss:
Electrical degradation — Battery capacity reduction, increased internal resistance, controller inefficiency, and connection deterioration all consume more power for the same output.
Step 1: Establish a Baseline Comparison
Before testing components, establish exactly how much range you've lost and under what conditions.
Create a controlled comparison:
- Choose a specific test route you've ridden since installation
- Record the same variables: rider weight, cargo, weather (temperature, wind), assist level used, terrain profile
- Note your current range vs. remembered performance
Quick range estimation formula:
Estimated range = Battery capacity (Wh) ÷ Average consumption (Wh/km)
Range reduction severity guide:
|
% Range Lost
|
Likely Cause
|
Urgency
|
|
5-15%
|
Cold weather, tyre pressure, minor wear
|
Low – check simple factors first
|
|
15-25%
|
Battery aging, connection issues, brake drag
|
Medium – systematic diagnosis needed
|
|
25-40%
|
Significant battery degradation, motor inefficiency
|
High – component testing required
|
|
40%+
|
Battery failure, major electrical fault
|
Immediate – replacement likely needed
|
Step 2: Check the Simple Stuff First
![]()

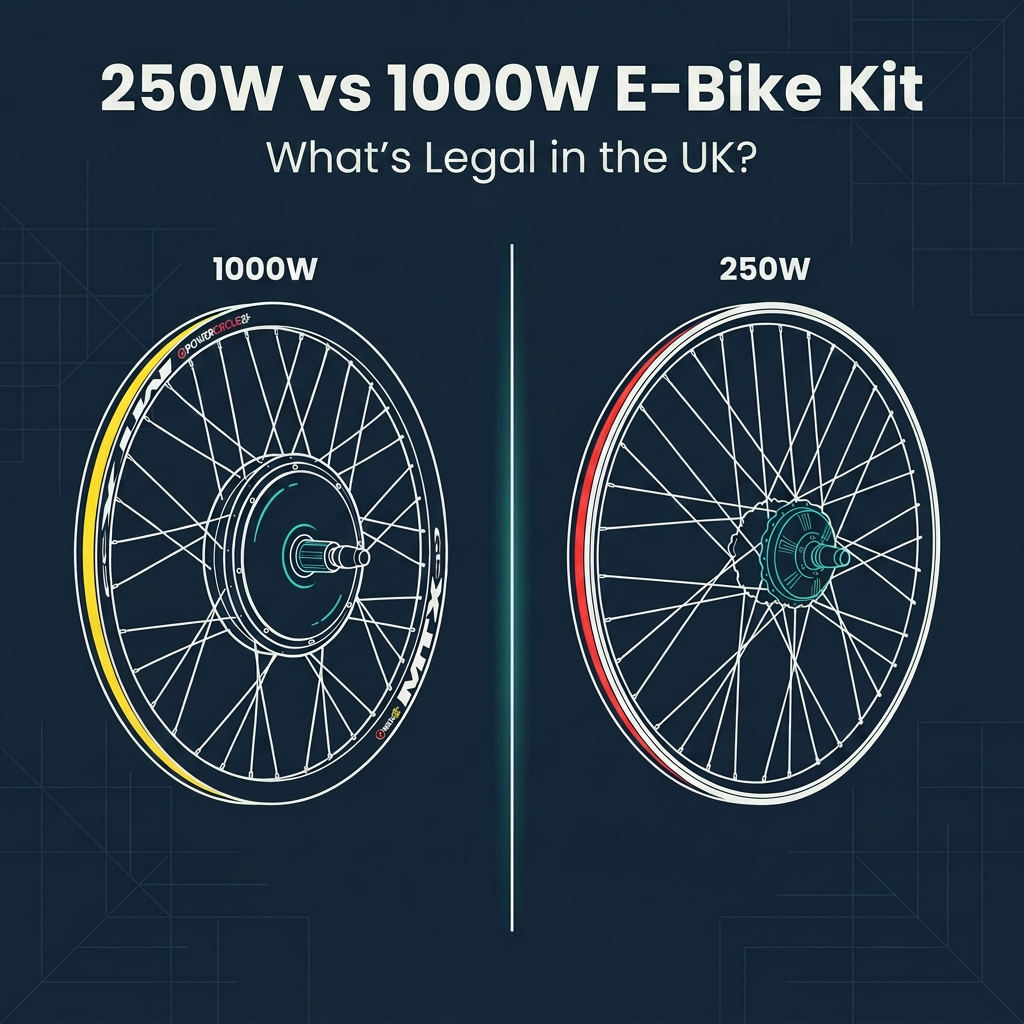
Many range loss cases are solved by addressing basic maintenance issues before touching any electronics.
Tyre Pressure (Most Overlooked Cause)
Under-inflated tyres create substantially increased rolling resistance, forcing the motor to work harder for every metre of forward motion. On an e-bike carrying motor and battery weight, this effect is amplified.
Action:
- Check current pressure with a gauge—don't guess
- Inflate to sidewall maximum (typically 50-80 PSI for road tyres, 25-40 PSI for MTB tyres)
- Test ride the same route and compare consumption
A tyre running at 30 PSI instead of 60 PSI can reduce range by 10-20% alone. This costs nothing to fix.
Brake Drag Inspection
Brake pads rubbing against rotors or rims continuously waste energy that should be powering your ride.
How to check for brake drag:
- Lift each wheel and spin it by hand
- A freely spinning wheel should rotate for 3-5+ seconds without resistance
- Any dragging sensation or noise while spinning indicates pad contact
- Visually inspect the gap between pads and rotor/rim—should be equal on both sides
Common drag causes:
- Cables stretched and pulling pads inward
- Hydraulic brake pistons not retracting fully
- Wheel not centred properly in dropouts
- Bent rotor rubbing intermittently
Chain and Drivetrain Condition
E-bike drivetrains wear faster than standard bicycle components due to constant motor torque application. A worn, dry chain consumes significantly more power.
Checks to perform:
- Use a chain wear indicator tool—replace if stretched beyond 0.75% mark
- Apply chain lube and wipe off excess (a dry chain adds measurable resistance)
- Check cassette teeth for shark-fin wear indicating replacement needed
- Verify derailleur shifting cleanly through all gears
Step 3: Battery Diagnostic Testing
![]()

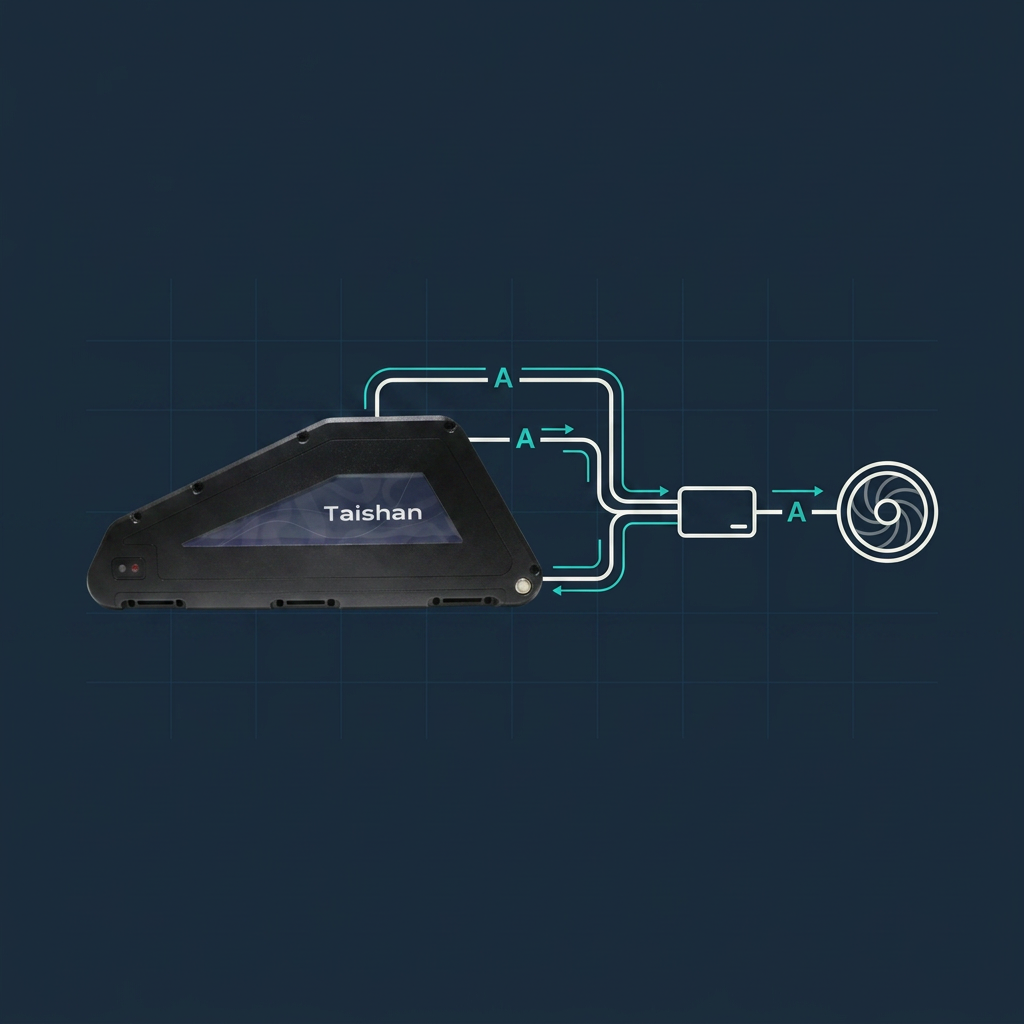
Battery degradation is the most common cause of significant range loss in older conversion kits. Systematic testing determines whether battery replacement is necessary.
Voltage Testing with a Multimeter
A basic multimeter (available for under £15) enables effective battery health assessment.
Full charge voltage test: After charging completely and resting for 30 minutes, measure battery voltage at the output connector.
|
Battery Nominal Voltage
|
Healthy Full Charge
|
Concern Level
|
Replacement Needed
|
|
36V
|
41.5-42V
|
Below 40V
|
Below 38V
|
|
48V
|
54-54.6V
|
Below 52V
|
Below 50V
|
|
52V
|
58-58.8V
|
Below 56V
|
Below 54V
|
|
60V
|
67-67.2V
|
Below 65V
|
Below 63V
|
Voltage sag under load test: Check voltage immediately during motor engagement (ask a helper to monitor multimeter while you pedal and activate assist):
- Healthy battery: voltage drops 1-2V under load and recovers immediately
- Degraded battery: voltage drops 4-6V+ or doesn't recover, triggering BMS cutoff
- Failing battery: dramatic voltage drop causing motor stutter or complete cutoff
Capacity Estimation Test
Without specialised battery testing equipment, this field test gives a reasonable capacity estimate:
- Fully charge battery
- Ride a known flat route at consistent speed on lowest assist level
- Record distance when display shows empty (or BMS cuts off)
- Compare to original rated range at that assist level
If achieving less than 60-70% of original rated range under identical controlled conditions, battery capacity has degraded significantly enough to consider replacement.
BMS Behaviour Analysis
The Battery Management System protects cells by cutting power when it detects unsafe conditions. Certain BMS behaviours indicate specific problems.
BMS symptom interpretation:
-
Power cuts out mid-ride but returns after brief rest: BMS triggered over-temperature or over-discharge protection; battery overheating or cells unbalanced
-
Display shows full charge but motor refuses to engage: BMS in protection mode from deep discharge event; may require specific reset procedure
-
Sudden complete power loss without warning: Cell group failure causing voltage to collapse instantly under load
-
Range fine but power feels weaker than before: Reduced cell capacity causing higher internal resistance and BMS current limiting
Step 4: Electrical Connection Inspection
Corroded or loose connections create resistance throughout the system, converting electrical energy into heat rather than forward motion. On older kits, this can account for 10-20% efficiency loss.
Systematic Connection Check
Work through the power circuit from battery to motor:
Battery output connector:
- Disconnect and inspect connector pins for corrosion (green/white deposits)
- Check for heat discolouration indicating previous high-resistance events
- Clean with electrical contact cleaner and non-conductive brush
- Apply dielectric grease to prevent future corrosion
Controller connections:
- Inspect all connectors entering and exiting controller
- Check power input cables (largest wires) for heat damage near connectors
- Verify all connectors fully seated—partial connection creates resistance
- Look for chafed cable insulation touching frame (potential short circuits)
Motor cable inspection:
- Check motor cable where it exits motor housing (highest flexing point)
- Look for cracked insulation near axle where cable bends during installation
- Test continuity of each phase wire if motor runs roughly
Identifying bad connections:
Place your hand near connectors immediately after a ride that shows poor range. Warm connectors are normal; hot connectors indicate a resistance problem requiring immediate attention.
Step 5: Motor Efficiency Assessment
Hub motors degrade gradually, but motor issues as a direct range loss cause are less common than battery or connection problems. Check these indicators before assuming motor replacement.
Motor Health Checks
Listen for efficiency loss symptoms:
- Grinding or rough sensation when spinning motor wheel by hand indicates bearing wear (adds drag)
- Higher-pitched whine compared to original performance suggests winding issues
- Intermittent power delivery despite good battery voltage points to hall sensor degradation
Overheating assessment: If motor gets very hot (uncomfortable to touch for more than 3 seconds) after moderate rides, internal efficiency has declined. Overheating causes the motor to draw more current for equivalent output, draining the battery faster.
Motor efficiency test: Push the bike with motor disconnected versus connected. A healthy motor offers negligible resistance when unpowered. Significant drag indicates bearing failure or cogging issues reducing efficiency.
Hub Motor vs. Mid-Drive Range Considerations
Different motor types have different efficiency profiles as they age:
Hub motors (rear wheel hub motor systems) gradually lose efficiency as bearings wear, typically showing up as increased heat generation and slightly higher current draw rather than sudden performance drops.
Mid-drive motors like the Tongsheng TSDZ8 available from Kirbebike are generally more efficient at converting battery energy into forward motion because they leverage the bike's gears. Range loss on mid-drive systems more often points to drivetrain wear (chain, cassette) than motor degradation itself.
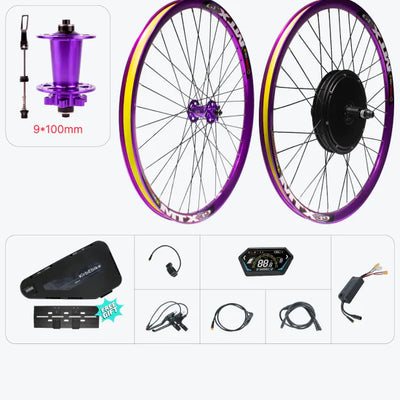
When to Consider Full Kit Upgrade
After thorough diagnosis, sometimes the honest conclusion is that an older conversion kit has reached the point where multiple components need attention simultaneously. Kirbebike offers complete e-bike conversion kits with batteries ranging from 250W road-legal systems to high-performance 2000W+ options, making complete replacement economically viable when individual component costs begin to add up.
Signs a full kit upgrade makes more sense than repairs:
- Battery, controller, and motor all showing age simultaneously
- Kit is over 4-5 years old with high mileage (14,000+ miles as some Kirbebike customers have reported)
- Desired performance improvement beyond what repairs can deliver
- Opportunity to upgrade voltage or power level
Real rider Charles Marvell logged nearly 14,000 miles on his 1500W Kirbebike system, going through a second controller and third display while maintaining the original motor and battery—demonstrating that well-maintained kits deliver exceptional longevity, but components do eventually require attention.
Conclusion
Diagnosing e-bike conversion kit range loss requires systematic investigation rather than immediately reaching for your wallet. Start with the free checks—tyre pressure, brake drag, chain lubrication—before testing batteries and electrical connections.
Most range loss cases resolve through either simple maintenance or a targeted battery replacement rather than complete kit overhaul. If diagnosis reveals that multiple components need attention, or if you simply want a fresh start with better performance, explore the full range of electric bike conversion options at Kirbebike to find a system perfectly matched to your range and power requirements.
Frequently Asked Questions
Why has my e-bike range suddenly halved in cold weather?
Cold temperatures significantly reduce lithium battery capacity—a battery delivering 60km in summer may only manage 35-40km below 5°C. This is normal chemistry behaviour, not component failure. Bring the battery indoors to warm before riding and performance typically returns in warmer temperatures.
How do I know if my battery or motor is causing range loss?
Test systematically: check battery voltage at full charge (compare to rated specification), then test voltage under load while riding. If voltage holds steady but range is poor, check motor efficiency and connection resistance. Dramatic voltage sag under motor load points firmly to battery degradation.
Can loose connections really cause significant range reduction?
Absolutely. Corroded or loose connectors create electrical resistance that converts power into heat rather than motion. A single poor connection can waste 5-15% of battery capacity on longer rides, with the loss worsening as connections corrode further. Regular cleaning with electrical contact cleaner prevents this.
My display still shows normal battery levels but the bike stops early. Why?
This typically indicates cell imbalance within the battery pack. The BMS reads average voltage (appearing normal) but individual cell groups have declined unevenly. When the weakest cells reach their protection threshold, the BMS cuts power even though other cells have remaining capacity. Battery reconditioning or replacement resolves this.
How much range loss is normal after 2-3 years of riding?
Quality lithium batteries with LG or Samsung cells typically retain 80-85% capacity after 500 charge cycles (approximately 2-3 years of regular riding). Range reductions of 10-20% over this period are normal. Losses exceeding 25-30% under identical conditions suggest either heavy use, poor charging habits, or battery quality issues requiring attention.
Will upgrading to a higher capacity battery restore my original range?
A higher amp-hour battery of the same voltage will provide more range than your original degraded battery, potentially exceeding original performance significantly. For example, replacing a 36V 13Ah battery (468Wh) with a 48V 16Ah battery (768Wh) at the same voltage provides 64% more total energy—substantially restoring and improving range if the rest of your system is in good condition.
: invalid url input)
usmile
Liquid error (snippets/blog-best-product line 36): product form must be given a product
Liquid error (snippets/blog-best-product line 59): product form must be given a product