How to Match an E-Bike Motor and Battery: Hub vs Mid-Drive
AK
Andy Kirby
Reviewed by the KirbEbike conversion-support team
Delen
Unlock £10 off today
Op deze pagina
A reliable conversion is one matched system: the bike must accept the motor, and the battery must match the controller’s voltage, current demand, energy needs, connectors, mounting space and charger. Break any link in that chain and the system may not fit, may cut out under load, or may be unsafe. This guide walks the five steps in order — layout, electrical match, watt-hours, physical fit, and whole-system validation — so the battery decision follows from the controller rather than from marketing wattage.
The quick answer
Start with physical fit and motor layout. Choose a hub motor for simpler installation and low drivetrain wear; choose a mid-drive when repeated steep climbs, cargo or technical terrain justify using the bike’s gears. Then verify the battery: nominal voltage, the controller’s maximum current, the pack and BMS continuous-discharge rating, required watt-hours, mounting space, connector polarity and an approved charger. A battery is not compatible merely because its advertised wattage looks similar.
The controller label is the starting point. Nominal voltage and maximum current define the battery compatibility window — not the wattage on the box.
Step 1: Choose a Motor Layout That Fits the Bike
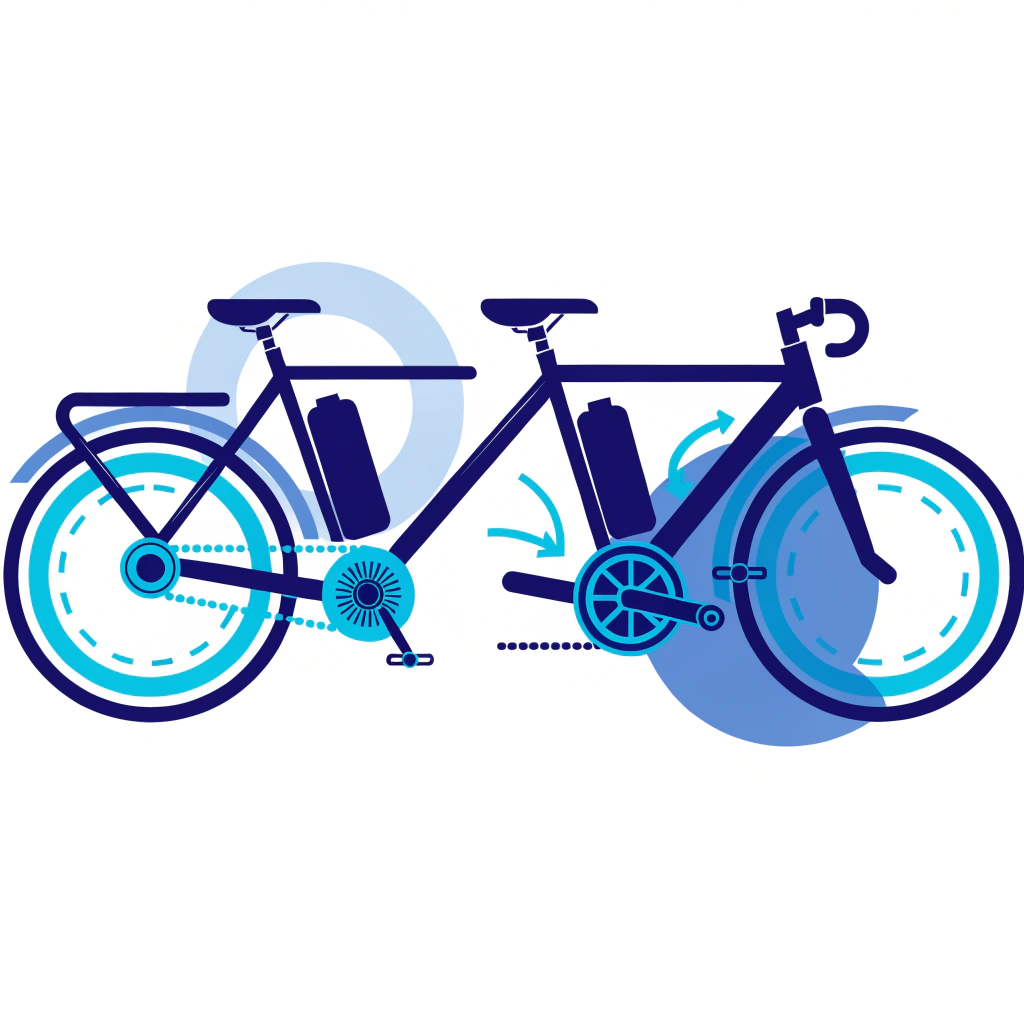
The bike decides first. Dropout or bottom-bracket fit rules layouts in or out before any electrical question.
Factor
Hub-motor kit
Mid-drive kit
Motor position
Front or rear wheel
Bottom bracket and crank
Power path
Drives the wheel directly
Through the chain and gears
Best terrain
Flat to moderately hilly roads
Steep hills and technical ground
Installation
Usually simpler
More involved
Drivetrain wear
Little motor-related wear
Increased chain and sprocket load
Hill efficiency
Depends on motor speed and power
Uses the bicycle gears
If the chain breaks
Motor can usually still drive
Motor cannot drive the bike
Best buyer
Commuter, low-maintenance rider
Hill rider, technical cyclist
Tendencies for comparable builds. Hub: uncomplicated commuting and protecting the drivetrain. Mid-drive: repeated steep climbs, cargo and trail use.
Route
Best for
Main checks
Trade-off
Front hub
Simple commuter builds, internal-gear or unusual rear drivetrains
Fork spacing, dropout or thru-axle, fork material, brakes, torque arm
Less weight over the tyre, so traction suffers when wet or steep
Rear hub
Commuting, mixed road and gravel, moderate to high power
Freewheel or cassette, gear count, dropout spacing, rotor and derailleur clearance
Interface mismatch, wider hub, harder punctures
Mid-drive
Steep hills, cargo, trail riding, balanced handling
Bottom-bracket type and width, motor clearance, chainline, ground clearance
Chain, cassette and chainring carry motor torque
For a rear hub, settle the gear interface before ordering: with the wheel off, spin the sprockets backwards and watch the tool fitting, which turns with a cassette and stays still on a freewheel. And 135mm against 142mm is where most mismatches happen — measure, do not assume.
The System-Matching Rule: Fit Before Power
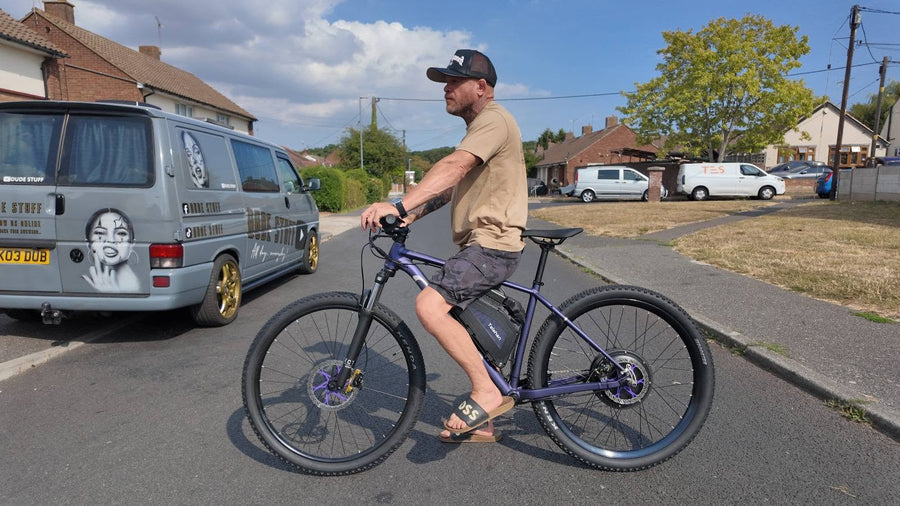
Do not choose wattage before you know what the bicycle can accept. A hub system must match fork or rear-dropout spacing, axle type, brake and rotor clearance and — at the rear — the freewheel or cassette interface; the wheel and dropout reference carries the measurements. A mid-drive must match bottom-bracket type and width, motor-shell clearance, chainline and ground clearance — Park Tool’s guide to bottom-bracket standards explains why press-fit shells complicate it. Once fit is proven, lock the motor/controller voltage and maximum current: those two values define the battery compatibility window, and motor position does not change that rule.
Sensor Choice: Important, but Not the Battery Match
Torque sensing changes how assistance responds to pedalling; cadence sensing changes when assistance engages. Neither sensor tells you which battery is safe. Treat sensor choice as a ride-feel decision — KirbEbike’s torque-sensing mid motor kit is the in-house example — then return to the controller label for nominal voltage and maximum current.
High-Power Systems Need More Than a Bigger Battery
Moving from 1000W to 2000W usually raises controller current, heat, braking load and battery discharge demand; it is not a simple capacity upgrade and does not promise twice the speed. Compare the 48V 1000W kit (25A controller) with the 52V 2000W MTX kit (35A FOC controller): the pack, BMS, connectors, cables, torque retention, brakes and tyres must be validated as one system at each step. In Great Britain these power levels fall outside ordinary EAPC limits.
Step 2: Match Voltage, Controller Current and BMS
Seven things must line up: motor and controller voltage, controller maximum current, required distance, mounting space, connector and polarity, charger voltage, and BMS current rating.
Match the voltage first. A 36V system takes a 36V pack, a 48V system a 48V pack. A 52V battery belongs only on a system whose controller, display and motor explicitly support it — never assume a controller accepts multiple voltages. Then match the current:
The current rule
pack continuous discharge & BMS rating ≥ controller maximum current, with headroom
Input power ≈ voltage × current: 48V × 20A ≈ 960W · 48V × 35A ≈ 1,680W · 52V × 40A ≈ 2,080W. Higher voltage raises available power — not range by itself.
Voltage
Typical application
Main advantage
Main trade-off
36V
Lower-power commuter builds
Lighter, simpler system
Less power headroom
48V
Broad commuter and performance range
The common all-round platform
Heavier than a small 36V pack
52V
Compatible performance systems
More voltage and power headroom
Must be explicitly supported
🔋
Do not mix unverified components. Government guidance warns that poor-quality, damaged or modified batteries can fail rapidly and produce toxic fumes, and advises against modifications that increase electrical loading (GOV.UK). The statutory guidelines expect packs sold for conversion kits to include a battery management system, and the fire service links kits bought without a battery to riders sourcing an incompatible charger elsewhere (London Fire Brigade).
Step 3: Size Watt-Hours for the Route
Watt-hours, not amp-hours. Amp-hours cannot be compared across voltages, because watt-hours equal voltage times amp-hours: 36V × 15Ah is 540Wh, 48V × 15Ah is 720Wh, 52V × 20Ah is 1,040Wh. A “15Ah battery” is not a range description at all.
Same battery, very different range
Estimated miles by pack energy and riding style. Blue = mixed riding (~20Wh/mile) · Teal = efficient riding (~12Wh/mile). Planning assumptions, not product promises.
540Wh · mixed
~27 mi
540Wh · efficient
~45 mi
720Wh · mixed
~36 mi
720Wh · efficient
~60 mi
1,040Wh · mixed
~52 mi
1,040Wh · efficient
~87 mi
Fast, hilly or loaded riding uses 28Wh per mile or more and cuts every bar shown. Assist level, speed, wind, tyre pressure, rider weight, cargo, temperature and stop-start traffic all move the result.
Capacity and current capability differ: a pack can hold plenty of watt-hours and still be unsuitable if its cells and BMS cannot deliver the controller’s current. Buy enough usable energy plus a reserve rather than the largest pack that fits, because capacity also adds cost, weight and charging time. KirbEbike’s packs run from the entry lithium range to the Taishan series with a 60A-continuous BMS and matched 5A charger.
Step 4: Check Battery Fit, Connectors and Charging
A battery must fit the frame as well as the electronics. Make a full-size cardboard template that includes the case, mounting rail, connector, key access and removal direction; check tyre, crank, steering and suspension clearance through full travel. A down-tube position keeps weight low and central; a rear rack suits step-through and crowded frames but sits higher and further back. Confirm connector type and polarity in writing, use only a charger approved for that exact pack — KirbEbike lists its chargers for KirbEbike batteries only, because charger interchangeability should never be assumed — and leave the battery and BMS unmodified.
For longevity, keep motor-wheel spokes and axle hardware checked on hub systems; on mid-drives, monitor chain, cassette and chainring wear. These are different maintenance paths, not proof that one layout is universally more reliable.
Step 5: Validate the Complete Motor–Battery System
Validate the purchase as a complete system, not as separate product cards:
Road commuter: a system designed to meet applicable EAPC requirements, moderate controller current, enough watt-hours for the return journey, secure weather-protected mounting and an approved charger
Hilly or cargo build: a fit-proven mid-drive or suitable rear hub, appropriate gearing, more current headroom and a battery that can sustain the controller without BMS cut-outs
Higher-power private-land build: documented motor/controller voltage, high-current pack and BMS, suitable connectors and cabling, torque retention, brakes, tyres and thermal margin
📝
The readiness test. If a supplier cannot confirm the controller’s maximum current, the battery’s continuous-discharge rating, the BMS limit, connector polarity and the charger specification — in writing — the system is not ready to buy.
UK Road-Legal Kit vs Private-Land Kit
The classification follows the complete bike. Pedals, continuous rating and the 15.5 mph cut-off all have to hold together.
A converted bike is treated as a normal pedal cycle in Great Britain when it has pedals capable of propelling it, a motor whose continuous rated output is no greater than 250W, and assistance that stops at 15.5 mph, with the rider aged 14 or over (GOV.UK). A non-compliant conversion is a motor vehicle and may need registration, insurance, tax, a licence and an approved helmet. The compliant end of the range lives with the 250W front-wheel kit and the wider road-legal collection.
⛔
Limiting a high-power kit is not legal proof. A display setting does not change a motor’s documented continuous rating. A 1000W or 2000W kit is not road-legal because speed or current has been restricted, and higher-power products should be treated as private-land systems where the product page says so. Riders outside Great Britain should check their own national, state or provincial rules, because power, throttle and speed classifications differ.
Common Motor–Battery Matching Mistakes
Mistake
Why it costs you
Choosing motor power before checking the bike
Fit decides what is possible; wattage does not
Assuming a mid-drive is always more reliable
It uses more of the drivetrain, not less
Comparing watts without voltage and current
Power is voltage times current, set by the controller
Comparing amp-hours across voltages
Only watt-hours compare across different systems
A BMS that cannot support the controller
Cut-outs on hills and shortened pack life
Treating an output limit as road legality
The documented continuous rating is what counts
A workable order: define the route, decide whether low maintenance or climbing efficiency matters more, inspect the bike, measure the dropout or bottom bracket, choose the layout, then choose power for the terrain and the law. Only then confirm controller voltage and maximum current, calculate the watt-hours, template the battery, check the BMS supports the controller, verify the charger, and compare the ride-ready cost.
Product touchpoint
Matching motor and battery together
Use the same sequence on KirbEbike products: prove wheel, dropout or bottom-bracket fit; confirm nominal voltage and controller current; then select a battery whose continuous-discharge/BMS rating and watt-hours meet the route. The conversion-kit collection is the final step, not the first.
A reliable conversion is a chain of compatible decisions: bike fit → motor layout → controller voltage and current → battery and BMS → watt-hours → mounting → connector polarity → approved charger. Break any link and the system may not fit, may cut out under load or may be unsafe.
Choose a hub or mid-drive only far enough to settle fit, terrain and maintenance needs. Then size the electrical system from the controller, not from marketing wattage or a claimed range. Measure the bike, calculate the route energy and obtain written confirmation of the exact motor, controller, battery and charger combination before ordering.
Motor First, Then Battery
Terrain and maintenance choose the layout. Voltage, current and watt-hours choose the pack — and the charger comes from whoever made it.
What battery do I need for an e-bike conversion kit?
A pack at the voltage approved for your controller and motor, with enough continuous discharge current and watt-hours for your route.
Can I use a 52V battery on a 48V system?
Only when the controller, display and motor explicitly support 52V and its 58.8V full-charge ceiling. Many 48V controllers tolerate it, but never assume — use the manufacturer’s published voltage window.
What does the BMS actually do?
The battery management system protects the cells: it limits discharge and charge current, balances the pack and cuts output in a fault. Its continuous rating must exceed the controller’s maximum demand with headroom, or the pack will cut out under load.
Should I charge my e-bike battery every night?
Not necessarily. Charge for the next ride, follow the manufacturer’s instructions, use only the approved charger, never charge a damaged or hot pack, and never where a fire would block your escape route.
Does a larger e-bike battery always give more range?
More watt-hours generally raise potential range, but speed, hills, temperature, tyre pressure, rider weight and the pack’s current capability all affect the distance achieved.
⚖️
A note on safety & legality. General information, not a substitute for the manufacturer’s instructions. Never fit a battery to a system not documented for its voltage, never modify a controller or BMS to force more current, and use only an authorised charger. Charge in a dry, ventilated place away from escape routes, and never charge a damaged, swollen, wet or hot battery. In Great Britain, a converted bike is an EAPC only when it has pedals capable of propelling it, its maximum continuous rated motor output is no greater than 250W, and electrical assistance cannot propel it above 15.5 mph; non-compliant systems are motor vehicles unless used on private land with permission (GOV.UK).
About this guide. Author: KirbEbike Editorial. Technical review: KirbEbike conversion-support team. Updated: 28 July 2026; next review due January 2027. Methodology: legality and battery safety cross-checked against GOV.UK and London Fire Brigade guidance, component standards against Park Tool, all cited inline. Motor weights, wheel and gear options and battery configurations were read from each manufacturer’s live page on 27 July 2026 and can change. Watt-hour figures are arithmetic; the range bands are planning assumptions, not measured results. Confirm the exact motor, controller, battery and charger combination before ordering.
Stay in the know
Conversion guides, fitting advice and the deals worth knowing about. No spam.
Door je aan te melden ga je akkoord met ons Privacybeleid.