160mm vs 180mm vs 203mm Brake Rotors: Heat, Fit and Trade-Offs on a Conversion
A conversion adds motor and battery weight and raises the speeds you carry into corners, so the brakes are working harder than the donor bike was designed for. The right rotor is the largest one your fork, frame, caliper and wheel actually support.
AK
Andy Kirby
Reviewed by the KirbEbike conversion-support team
Delen
Unlock £10 off today
Op deze pagina
FIT LIMITS COME FIRSTMASS AND SPEED, NOT WATTSUK + US
The Quick Answer
Choose the largest rotor your system genuinely supports. 160mm suits light commuter conversions on flat ground. 180mm is the sensible middle ground for most converted bikes and hilly commuting. 203mm is for heavy riders, cargo builds and long descents — and only where the fork, frame, caliper mount and wheel clearance all allow it.
Two things to hold onto. Rotor size is decided by total system mass, speed, gradient and how often you brake, not by motor wattage — a 250W bike ridden hard downhill with cargo asks more of its brakes than a 1000W bike ridden gently on the flat. And a bigger rotor is only an upgrade if it fits: your fork or frame maximum, the caliper mount and adapter, rotor thickness and wheel clearance all have to agree first.
The Short Comparison
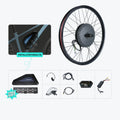
A light front-hub kit. On builds like this, 160mm often stays appropriate.
Rotor size
Strengths
Trade-offs
Typically suits
160mm
Lightest, easiest to fit, least clearance trouble
Least leverage and thermal reserve
Light commuter conversions, flat routes
180mm
Better leverage and heat reserve, widely supported
Needs an adapter on many 160mm mounts
Most converted bikes, hilly commuting
203mm
Most leverage and thermal capacity
Fit limits, weight, clearance, adapter specifics
Heavy riders, cargo, sustained descents
Trade-offs, not a ranking. The size that fits and is correctly aligned beats the larger one that is not.
A larger rotor increases mechanical leverage and generally gives the system more thermal capacity. It is an upgrade only when every fit constraint supports it.
Why Braking Load Comes From Mass and Speed
Kinetic-energy arithmetic, not measured testing: energy rises with mass and with the square of speed. A heavier build at higher speed asks several times more of the brakes than a light one at moderate speed.
Braking converts kinetic energy into heat, and that energy scales with mass and with the square of speed. So the load on your brakes comes from the total of bike, rider, battery and cargo, and from how fast you are travelling when you brake — not from the motor rating. A 140kg system at 25mph asks roughly four times more of the brakes than a 90kg system at 15mph. That is why motor wattage is the wrong input for this decision, and why our wattage and speed guide is about propulsion rather than stopping.
Diameter changes leverage. A larger rotor gives the caliper a longer lever arm against the wheel, so the same lever force produces more braking torque. Thermal behaviour is a separate question. Heat capacity depends on rotor mass and construction, not diameter alone, and dissipation depends on surface area, airflow, pad compound and caliper design. A thicker or better-ventilated rotor of the same diameter can manage heat better than a thin one, which is why "bigger is cooler" is only loosely true.
Front and rear also carry different loads. Weight transfers forward under braking, so the front brake does most of the work and benefits most from a larger rotor. Running a larger front than rear is a common and sensible arrangement, and it is not a compromise.
When 160mm Makes Sense
A 160mm rotor suits a light commuter conversion on flat or gently rolling ground, with a modest battery and no cargo. It is the easiest size to fit, needs the fewest adapters, adds the least rotating mass, and gives the most clearance around a motor hub. On a bike that was designed for 160mm and is being converted with a small front hub kit, it is often exactly right.
Where it reaches its limits is repeated or sustained braking. Long descents, heavier total mass, cargo and higher carried speeds all put more energy through a smaller disc, and that shows up as reduced lever feel and fade before it shows up as anything dramatic. If you notice the lever coming closer to the bar over a long descent, that is the signal to review the whole brake system rather than to brake later. Our 250W front kit is the kind of build where 160mm often remains appropriate.
When 180mm Is the Better Middle Ground
For most converted bikes, 180mm is the sensible answer. It adds meaningful leverage and thermal reserve over 160mm without the fit difficulties that 203mm can bring, and it is widely supported by forks, frames and adapters. On mixed terrain and hilly commuting, particularly with a battery and a motor wheel adding mass, it is the size that most often changes the bike from adequate to confident.
A 180mm front with a 160mm rear is a common and effective arrangement, since the front does most of the work. Before ordering, check the adapter specifically: moving from a 160mm native mount to 180mm requires the correct adapter for your caliper mounting standard, and adapters are not generic. Park Tool’s caliper alignment guidance covers getting the result right once fitted (Park Tool).
When 203mm Is Worth Considering — and When It Is Not
203mm makes sense for heavy riders, cargo builds, sustained descents and any conversion where total system mass is genuinely high. It offers the most leverage and the most thermal capacity, and on a heavy bike doing repeated hard stops it is the size that keeps lever feel consistent.
💡
WHEN 203MM IS THE WRONG UPGRADE
It is wrong when the fork or frame does not permit it, when the caliper mount and adapter combination is not available for your standard, when the rotor fouls the caliper, spokes or motor shell, or when the frame was never designed to take the loads a larger rotor puts into the mount. It also adds rotating mass and cost for no benefit on a light bike ridden gently. Fitting a rotor larger than the fork or frame manufacturer permits is not a safety upgrade — it is a load path nobody designed.
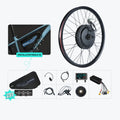
200mm and 203mm are not the same size, and this catches people out. They use different mounting arrangements and different adapters, and a 200mm adapter is not a 203mm adapter. Match the exact combination of caliper mounting standard, native rotor size and target rotor size, and buy the adapter specified for that combination rather than the closest available. On a high-power build such as our 52V 2000W kit, the brake system deserves a full review rather than a rotor swap alone — pads, caliper, hose condition and hardware all matter alongside diameter.
Check Fit Before You Change Rotor Size
💡
Six checks, in order
Hub interface — six-bolt or Center Lock — the rotor must match the hub, including a motor hub
Brake mount and native size — post mount, flat mount or IS, and the size the mount is designed for
Fork and frame maximum — the manufacturer’s stated maximum rotor size, which is a hard limit
Rotor thickness and wear limit — matched to the caliper and pads, and within the rotor’s stated limits
Caliper, spoke and motor-shell clearance — physically checked, especially on a motor wheel
Caliper alignment and full pad sweep — re-centred after fitting, with the pad sweeping the braking surface fully
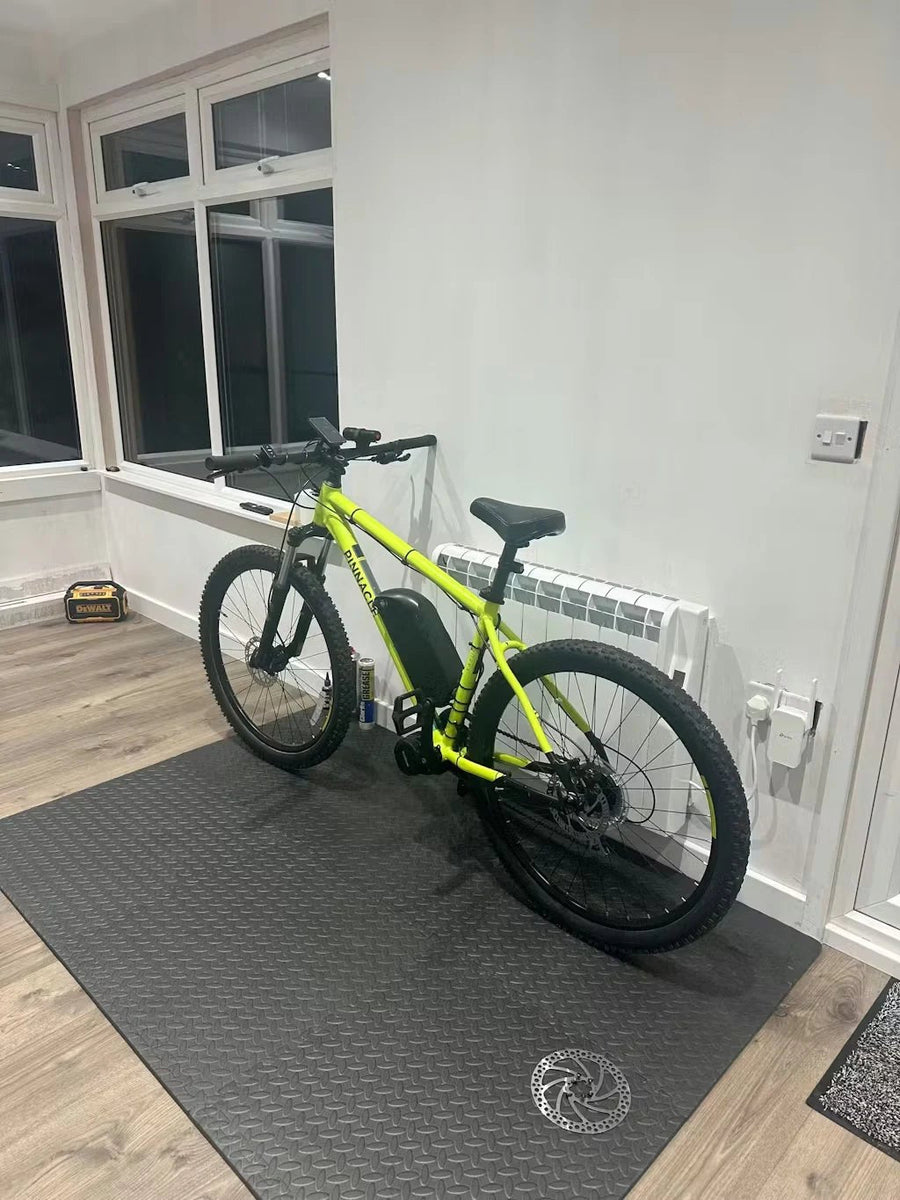
Check clearance on a motor wheel. The rotor must clear the caliper, spokes and motor shell through a full turn.
The fork and frame maximum is the check people skip and the one that matters most. It is set by the manufacturer of your donor bike, not by the rotor or brake maker, and exceeding it puts loads into a mount that was not designed for them. Find it in the fork or frame documentation, and if you cannot, ask the manufacturer rather than assuming. Park Tool covers rotor fitting and the interfaces involved (Park Tool), and our compatibility checklist covers the wider frame checks.
Clearance deserves particular attention on a conversion, because a motor hub is physically larger than a standard hub. Check the rotor clears the caliper body, the spokes and the motor shell through a full wheel rotation, not just in one position. And after any rotor change, confirm the pads sweep the full braking surface — a pad overhanging the edge of a rotor wears unevenly and does not brake as designed.
Testing Heat and Fade Honestly
If you want to compare two setups, do it properly or the result means nothing. Record total system mass including rider, battery and cargo, and record the exact brake hardware: rotor model, diameter and thickness, caliper model, pad compound and adapter. Use the same route, the same entry speed and the same braking pattern for each run.
Then log what you can measure consistently and what you can feel: lever travel, any change in bite point, whether stopping behaviour degrades over repeated stops, and rotor temperature if you can measure it the same way every time. Retest after the pads and rotor have bedded in, because a new setup does not perform as it will after a few rides. Read any stopping-distance or rotor-temperature figure you find elsewhere the same way: without the mass, speed, slope, hardware and conditions behind it, it is not evidence. Our installation mistakes guide covers the fitting side.
Match Rotor Size to the Whole Build
More mass and more speed mean more heat to shed. Match the rotor to the whole build, not the motor rating.
Build
Typical starting point
What decides it
Urban and leisure conversion
160mm, or 180mm front
Flat routes, modest mass, light battery
Hilly commuter or cargo
180mm, or 203mm front
Sustained descents, higher total mass
High-power private-land build
Largest the system supports
Speed carried, mass, repeated hard braking
Starting points only. Every one is conditional on your fork, frame, caliper and wheel clearance.
For a mid-power build such as our 500W/750W kit, 180mm front is a reasonable default where the fork permits. For high-power builds, treat the brakes as part of the system rather than an afterthought: more speed and more mass mean more energy to dissipate, and the torque arm guide covers the other hardware such builds need. Note also that larger brakes do not change legal classification — a build outside the rules is still outside them with a 203mm rotor fitted (GOV.UK).
Rotor Examples to Compare
Four options, listed alphabetically. We do not supply rotors, so these are reference points rather than recommendations, and each is conditional on your caliper, pad and mount compatibility.
1. MAGURA MDR-P
A rotor aimed at higher-load applications, using a thicker construction than many standard rotors to increase heat capacity. Extra thickness is the relevant feature here: more material means more heat absorbed before temperature rises, which suits heavy bikes and sustained descents. Two practical caveats. Thicker rotors must be compatible with your caliper and pad clearance, and thickness affects pad wear geometry, so check the caliper manufacturer supports it rather than assuming any rotor fits any caliper.
2. Shimano RT-MT800 ICE TECHNOLOGIES FREEZA
A layered rotor design using aluminium between steel braking surfaces with a finned carrier, intended to move heat away from the braking surface. It is a genuine engineering answer to heat rather than a coating, and it is well supported across Shimano calipers. Check the mounting interface, since it is offered in Center Lock, and confirm your caliper and pad combination is a supported pairing. Availability in the largest diameters varies, so verify the size you need is offered in the interface you have.
3. Shimano SM-RT66 and RT70 Class
The value end of the same ecosystem: conventional steel rotors without the layered construction, offered in six-bolt and Center Lock and in the common diameters. For a light commuter conversion on flat ground they are entirely adequate, and the money saved is often better spent on pads or a larger diameter than on rotor construction. The limitation is thermal: on sustained descents with a heavy build, a plain steel rotor of the same diameter has less thermal margin than a layered one.
4. SRAM HS2
A thicker rotor than SRAM's previous generation, designed to add heat capacity and stiffness for heavier and faster applications. The thickness increase is the point, and it is the same trade-off as the MAGURA option: more thermal mass, but caliper and pad clearance must support it. Confirm compatibility with your specific caliper generation before ordering, since a thicker rotor in a caliper not designed for it changes pad clearance and can cause rub.
Rotor
Approach
Best suited to
Check first
MAGURA MDR-P
Thicker construction
Heavy builds, long descents
Caliper and pad clearance
Shimano RT-MT800
Layered with finned carrier
Heat management at any size
Interface and caliper pairing
Shimano SM-RT66 / RT70
Conventional steel
Light commuter conversions
Thermal margin on descents
SRAM HS2
Thicker construction
Heavier and faster builds
Caliper generation compatibility
Listed alphabetically. Construction affects heat capacity; diameter affects leverage. They are different levers.
Final Checklist
Confirm before you buy
Confirm before you ride
Fork and frame maximum rotor size
Caliper re-centred and rotor running true
Caliper mounting standard and native size
Full pad sweep across the braking surface
The exact adapter for that combination
No contact with spokes, caliper body or motor shell
Hub interface: six-bolt or Center Lock
Rotor bolts or lockring torqued to specification
Rotor thickness against caliper and pads
Bedding-in completed before hard braking
Clearance around the motor hub
Lever feel consistent over repeated stops
If any item on the left is unknown, do not order. If any on the right fails, do not ride.
Product touchpoint
Ask before you buy the adapter
The two questions that save a wasted order are your fork or frame maximum rotor size, and the exact adapter for your caliper mounting standard and target size. Check the frame first using our sizing and fit resources, and if you are converting with one of our motor-wheel kits, ask us about rotor clearance around the motor shell for your wheel variant before committing to a larger size. We would rather answer that than have you order twice.
Conclusion: Choose the Largest Rotor Your System Supports
A conversion adds mass and carries more speed, so the brakes matter more than they did on the donor bike. Larger rotors give more leverage and generally more thermal capacity, and 180mm is the sensible middle ground for most converted bikes, with 203mm reserved for heavy riders, cargo and sustained descents.
But size follows fit, not ambition. Confirm the fork and frame maximum, the caliper mounting standard and the exact adapter, the hub interface, rotor thickness and clearance around the motor hub before ordering anything. Re-centre the caliper, verify full pad sweep and bed the brakes in before riding hard. Remember that leverage and heat management are separate problems — thickness, construction and pad compound matter alongside diameter — and that a bigger rotor does not change what your bike is legally (GOV.UK).
Fit first, then diameter
Fork maximum, mounting standard, adapter, clearance — then choose the largest size that passes.
Is a 203mm rotor better than a 180mm rotor on an ebike?
It offers more leverage and thermal capacity, which helps heavy builds and long descents. It is only better if your fork, frame, caliper mount, adapter and wheel clearance all support it.
Are 160mm rotors enough for an ebike conversion?
They can be, on a light commuter conversion with a modest battery on flat or gently rolling ground. They reach their limits with heavier total mass, cargo, higher speeds or sustained descents.
Can I put a 203mm rotor on any ebike conversion?
No. The fork or frame manufacturer sets a maximum rotor size, and the caliper mounting standard must have an adapter for that combination. Clearance around a motor hub also has to be checked physically.
Does a larger brake rotor reduce stopping distance?
It increases mechanical leverage, so the same lever force produces more braking torque. Actual stopping distance depends on tyres, surface, total mass, rider input and weight transfer as well as the rotor.
Does a larger rotor help prevent brake fade?
It generally increases thermal capacity, which helps. Rotor thickness and construction, pad compound, caliper design and airflow also matter, so diameter alone does not determine fade behaviour.
Do front and rear ebike rotors need to be the same size?
No. Weight transfers forward under braking, so the front does most of the work and benefits most from a larger rotor. A larger front with a smaller rear is a common and sensible arrangement.
How do I know the maximum rotor size for my fork or frame?
It is stated by the fork or frame manufacturer, not by the brake or rotor maker. Check the documentation for your donor bike, and ask the manufacturer if you cannot find it. Do not assume.
Can I use a 180mm adapter with a 203mm rotor?
No. Adapters are specific to the combination of caliper mounting standard, native rotor size and target size. Using the wrong adapter misaligns the caliper and is not safe.
What is the difference between 200mm and 203mm rotors?
They are different sizes with different mounting requirements, not a 3mm detail. A 200mm adapter is not a 203mm adapter, so match the exact combination rather than the closest available.
Does brake rotor thickness matter on an ebike?
Yes. More material means more heat absorbed before temperature rises, which helps on heavy builds and long descents. Thickness must be compatible with your caliper and pad clearance.
A note on safety & legality. General information, not a substitute for the fork, frame, brake or rotor manufacturer’s instructions, or for a qualified mechanic. Never fit a rotor larger than the maximum stated by your fork or frame manufacturer, and never substitute an adapter that is not specified for your exact combination of caliper mounting standard, native size and target size. Check rotor thickness against caliper and pad compatibility, and check clearance to the caliper body, spokes and motor shell through a full wheel rotation. After fitting, re-centre the caliper, verify full pad sweep, torque all fasteners to specification and bed the brakes in before riding hard. Brakes are safety-critical: if you are unsure at any point, have the work checked. Larger brakes do not change legal classification — in Great Britain a converted cycle is an EAPC only when it has working pedals, a motor rated no higher than 250W continuous and assistance stopping at 15.5mph (GOV.UK).
About this guide
Author: Andy Kirby. Last reviewed: October 2026. Methodology: rotor fitting, interfaces and caliper alignment are cited to Park Tool, and legality to GOV.UK and the Department for Transport, all cited inline. The braking-energy chart is kinetic-energy arithmetic showing how load scales with mass and the square of speed; it is not a measured test, and no stopping-distance, rotor-temperature or fade figure is given. Rotor-to-motor-shell clearance varies by wheel variant, so confirm it for yours with support before fitting a larger rotor. Every rotor-size suggestion is conditional on your own fork or frame maximum and brake manufacturer compatibility. Rotor details are the manufacturers’ own published claims.
Stay in the know
Conversion guides, fitting advice and the deals worth knowing about. No spam.
Door je aan te melden ga je akkoord met ons Privacybeleid.