Electric bikes have become increasingly popular as a practical, eco-friendly, and cost-effective way to commute and explore. For cycling enthusiasts, upgrading a traditional bicycle into an e-bike is an exciting option. One of the most effective ways to achieve this is with an electric bike conversion kit.
Whether you are a beginner or an experienced DIYer, this guide will show you how to install an electric bike conversion kit, including battery setup, motor installation, and essential safety tips. We’ll also highlight KirbEbike’s high-performance conversion kits, which are designed for easy installation and reliable operation.
![]()

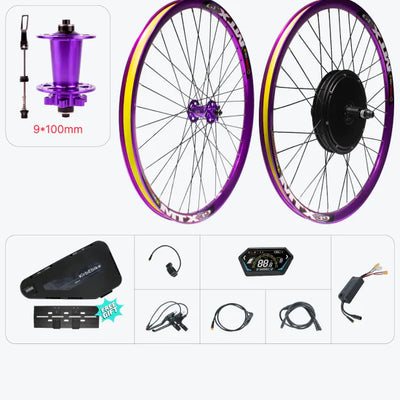
What is an Electric Bike Conversion Kit?
![]()

An electric bike conversion kit allows you to upgrade a standard bicycle into an electric bike without purchasing a pre-built e-bike.
Components of a Conversion Kit
-
Motor: Hub motor (front or rear) or mid-drive motor that powers the bike. KirbEbike offers both, including powerful 3000W rear hub motors.
-
Battery Pack: Supplies energy to the motor. Options range from 36V to 72V high-capacity batteries.
-
Controller: Regulates power from the battery to the motor.
-
Throttle/PAS (Pedal Assist System): Controls acceleration.
-
Cables, Mounting Hardware & Tools: Everything needed for installation.
KirbEbike kits are known for being plug-and-play, compatible with most bike frames, and including a removable, lockable battery pack for convenience conversion kits.
Tools You Will Need
Most KirbEbike conversion kits include the hardware needed, but additional tools may be required for installation:
- Adjustable wrench set
- Allen key set
- Screwdrivers
- Torque wrench (optional, for precise tightening)
- Bike stand (for stability)
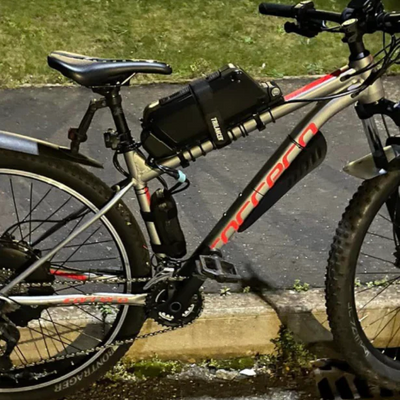
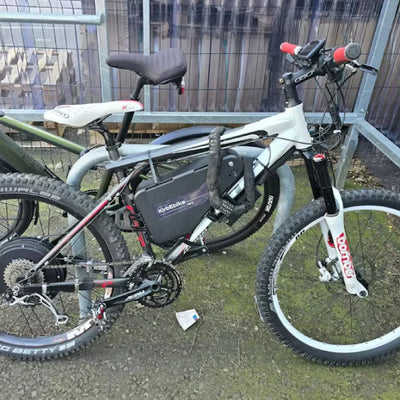
Step-by-Step Installation Guide
![]()

Installing an electric bike conversion kit is straightforward with the right instructions. On average, KirbEbike kits take 20–30 minutes to install for most bikes.
Step 1: Prepare Your Bike
- Ensure your bike is in good condition, brakes and gears are functioning correctly.
- Remove the front or rear wheel if installing a hub motor.
Step 2: Install the Motor Wheel
- Align the motor hub with the dropouts on your bike frame.
- Tighten the axle nuts or thru-axle securely.
-
For rear hub motors, make sure the cassette or freewheel is properly aligned.
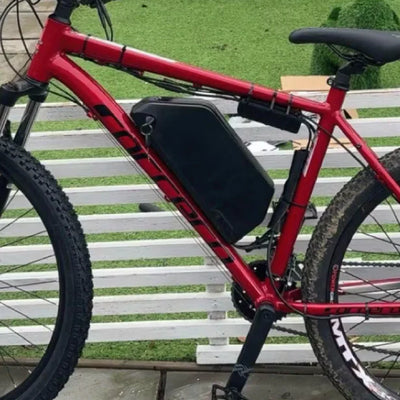
Step 3: Mount the Battery
- KirbEbike batteries are designed to fit the down tube or rear rack.
-
For DP battery: Screw it into the existing bottle cage or mount location.
-
For JL battery: Remove any existing battery and replace it with the kit battery.
- Lock the battery in place for security.
Step 4: Connect the Controller and Wiring
- Connect the motor wires to the controller.
- Attach throttle, PAS sensors, and brake cutoffs to the controller.
- Organize cables along the frame using zip ties for safety and aesthetics.
Step 5: Install the Throttle and Display
- Attach the throttle to the handlebar.
- Install any included display for speed, battery level, and PAS mode.
Step 6: Test the System
- Turn on the battery and check motor response.
- Verify throttle and pedal assist functionality.
- Test brakes to ensure motor power cuts off when braking.
KirbEbike kits are designed for minimal technical knowledge, making this installation process easy for most riders.
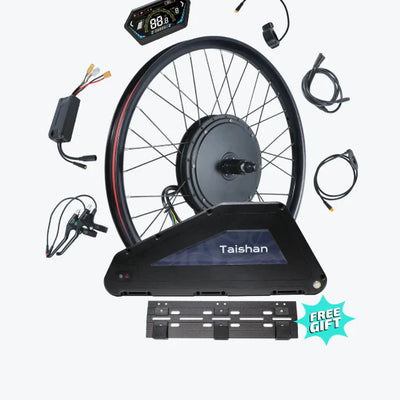
Electric Bike Conversion Kit with Battery 72V
![]()

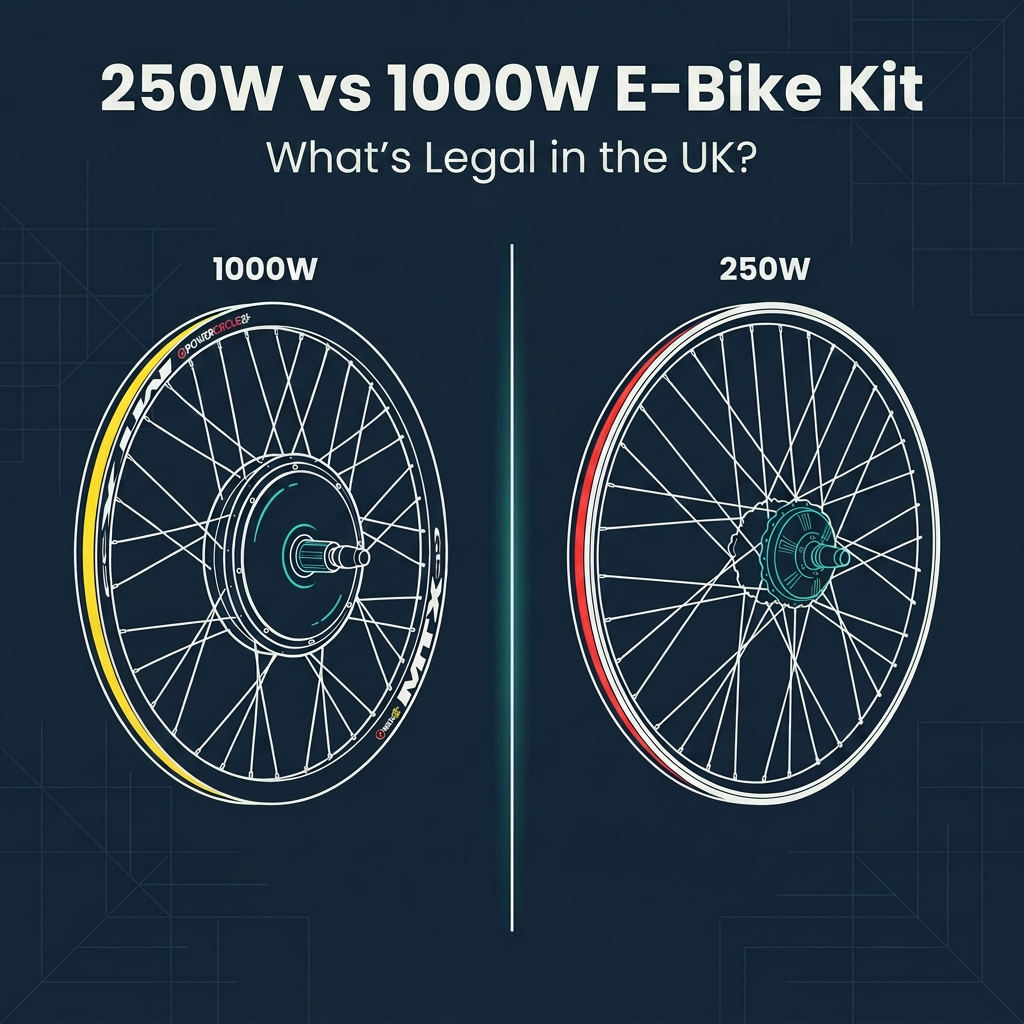
High-performance riders often choose 72V batteries for maximum speed and torque.
Benefits of a 72V Kit
-
Increased motor power, ideal for 3000–4000W hub motors.
- Higher top speed and better hill-climbing capability.
- Longer battery life at moderate speeds.
KirbEbike offers 72V high-capacity battery kits compatible with both hub and mid-drive motors. These batteries are lockable, removable, and feature advanced BMS for safety.
Front vs Rear Motor Installation
When choosing your kit, it’s important to decide between front vs rear hub motor installation:
|
Feature
|
Front Hub Motor
|
Rear Hub Motor
|
|
Traction
|
Moderate
|
Excellent, especially for high-power kits
|
|
Ease of Installation
|
Easier
|
Slightly more complex
|
|
Ideal Use
|
Flat terrain
|
Hills, off-road, and high-speed
|
|
Recommended by KirbEbike
|
Kits available
|
Best for 2500–3000W MTX kits
|
Rear hub motors are preferred for high-power kits, giving more traction and stability.
Upgrading Brakes and Accessories
High-speed conversion kits require stronger braking systems:
-
Upgrade to disc brakes if your bike has rim brakes.
-
Use torque arms for high-powered rear hub motors.
- Add lights, fenders, or racks as needed.
KirbEbike kits include disc brake compatible hubs for safe and reliable stopping.
Maintenance Tips After Installation
- Regularly check motor and wiring connections.
- Charge the battery after each ride and store in a cool, dry place.
- Inspect tires, brake pads, and drivetrain.
- Clean motor hub and battery terminals to prevent corrosion.
Benefits of Installing a KirbEbike Conversion Kit
-
Cost-Effective: Save thousands compared to a pre-built e-bike.
-
Customizable: Choose your motor, battery, and accessories.
-
Fast & Easy Installation: 20–30 minutes on most bikes.
-
High Performance: Supports speeds over 40 mph with high-voltage kits.
-
Reliable Customer Support: KirbEbike provides installation guides and direct support.
Common Mistakes to Avoid
- Incorrectly tightening motor axle nuts
- Poor cable routing causing wear or disconnection
- Using a low-voltage battery for a high-powered motor
- Not upgrading brakes for a high-speed kit
KirbEbike kits are designed to minimize installation errors, with clear instructions and pre-matched components.
Why KirbEbike is a Trusted Choice
- Kits compatible with most bike frames and wheel sizes
- Lockable, high-capacity batteries
- Plug-and-play installation with included tools
- Extensive customer support and guidance
Frequently Asked Questions
Can I install an electric bike conversion kit myself?
Yes! KirbEbike kits are designed for DIY installation, typically taking 20–30 minutes, with all necessary hardware included.
Do I need special tools for installation?
Most standard tools like wrenches, Allen keys, and screwdrivers are sufficient. A bike stand and torque wrench may be helpful.
Can I use a 72V battery on any kit?
Only if the motor and controller are rated for 72V. KirbEbike provides matched kits to ensure compatibility and safety.
Will my bike frame fit a KirbEbike kit?
Yes, KirbEbike kits fit most bicycles, including mountain bikes, road bikes, fat tire bikes, and folding bikes.
How do I maintain my e-bike after installation?
Regularly check the motor, battery, and wiring. Charge the battery properly, and inspect brakes, tires, and drivetrain for safety.
: invalid url input)
usmile
Liquid error (snippets/blog-best-product line 36): product form must be given a product
Liquid error (snippets/blog-best-product line 59): product form must be given a product